


Renovations: great for your home, not so great for your floors. Between plaster dust, paint splatters and mystery grit, it can feel like a war zone underfoot. But with Universal Cleaner, a trusty cloth and your Spray Mop, you can bring back that post-reno sparkle — minus the mess.
What you need
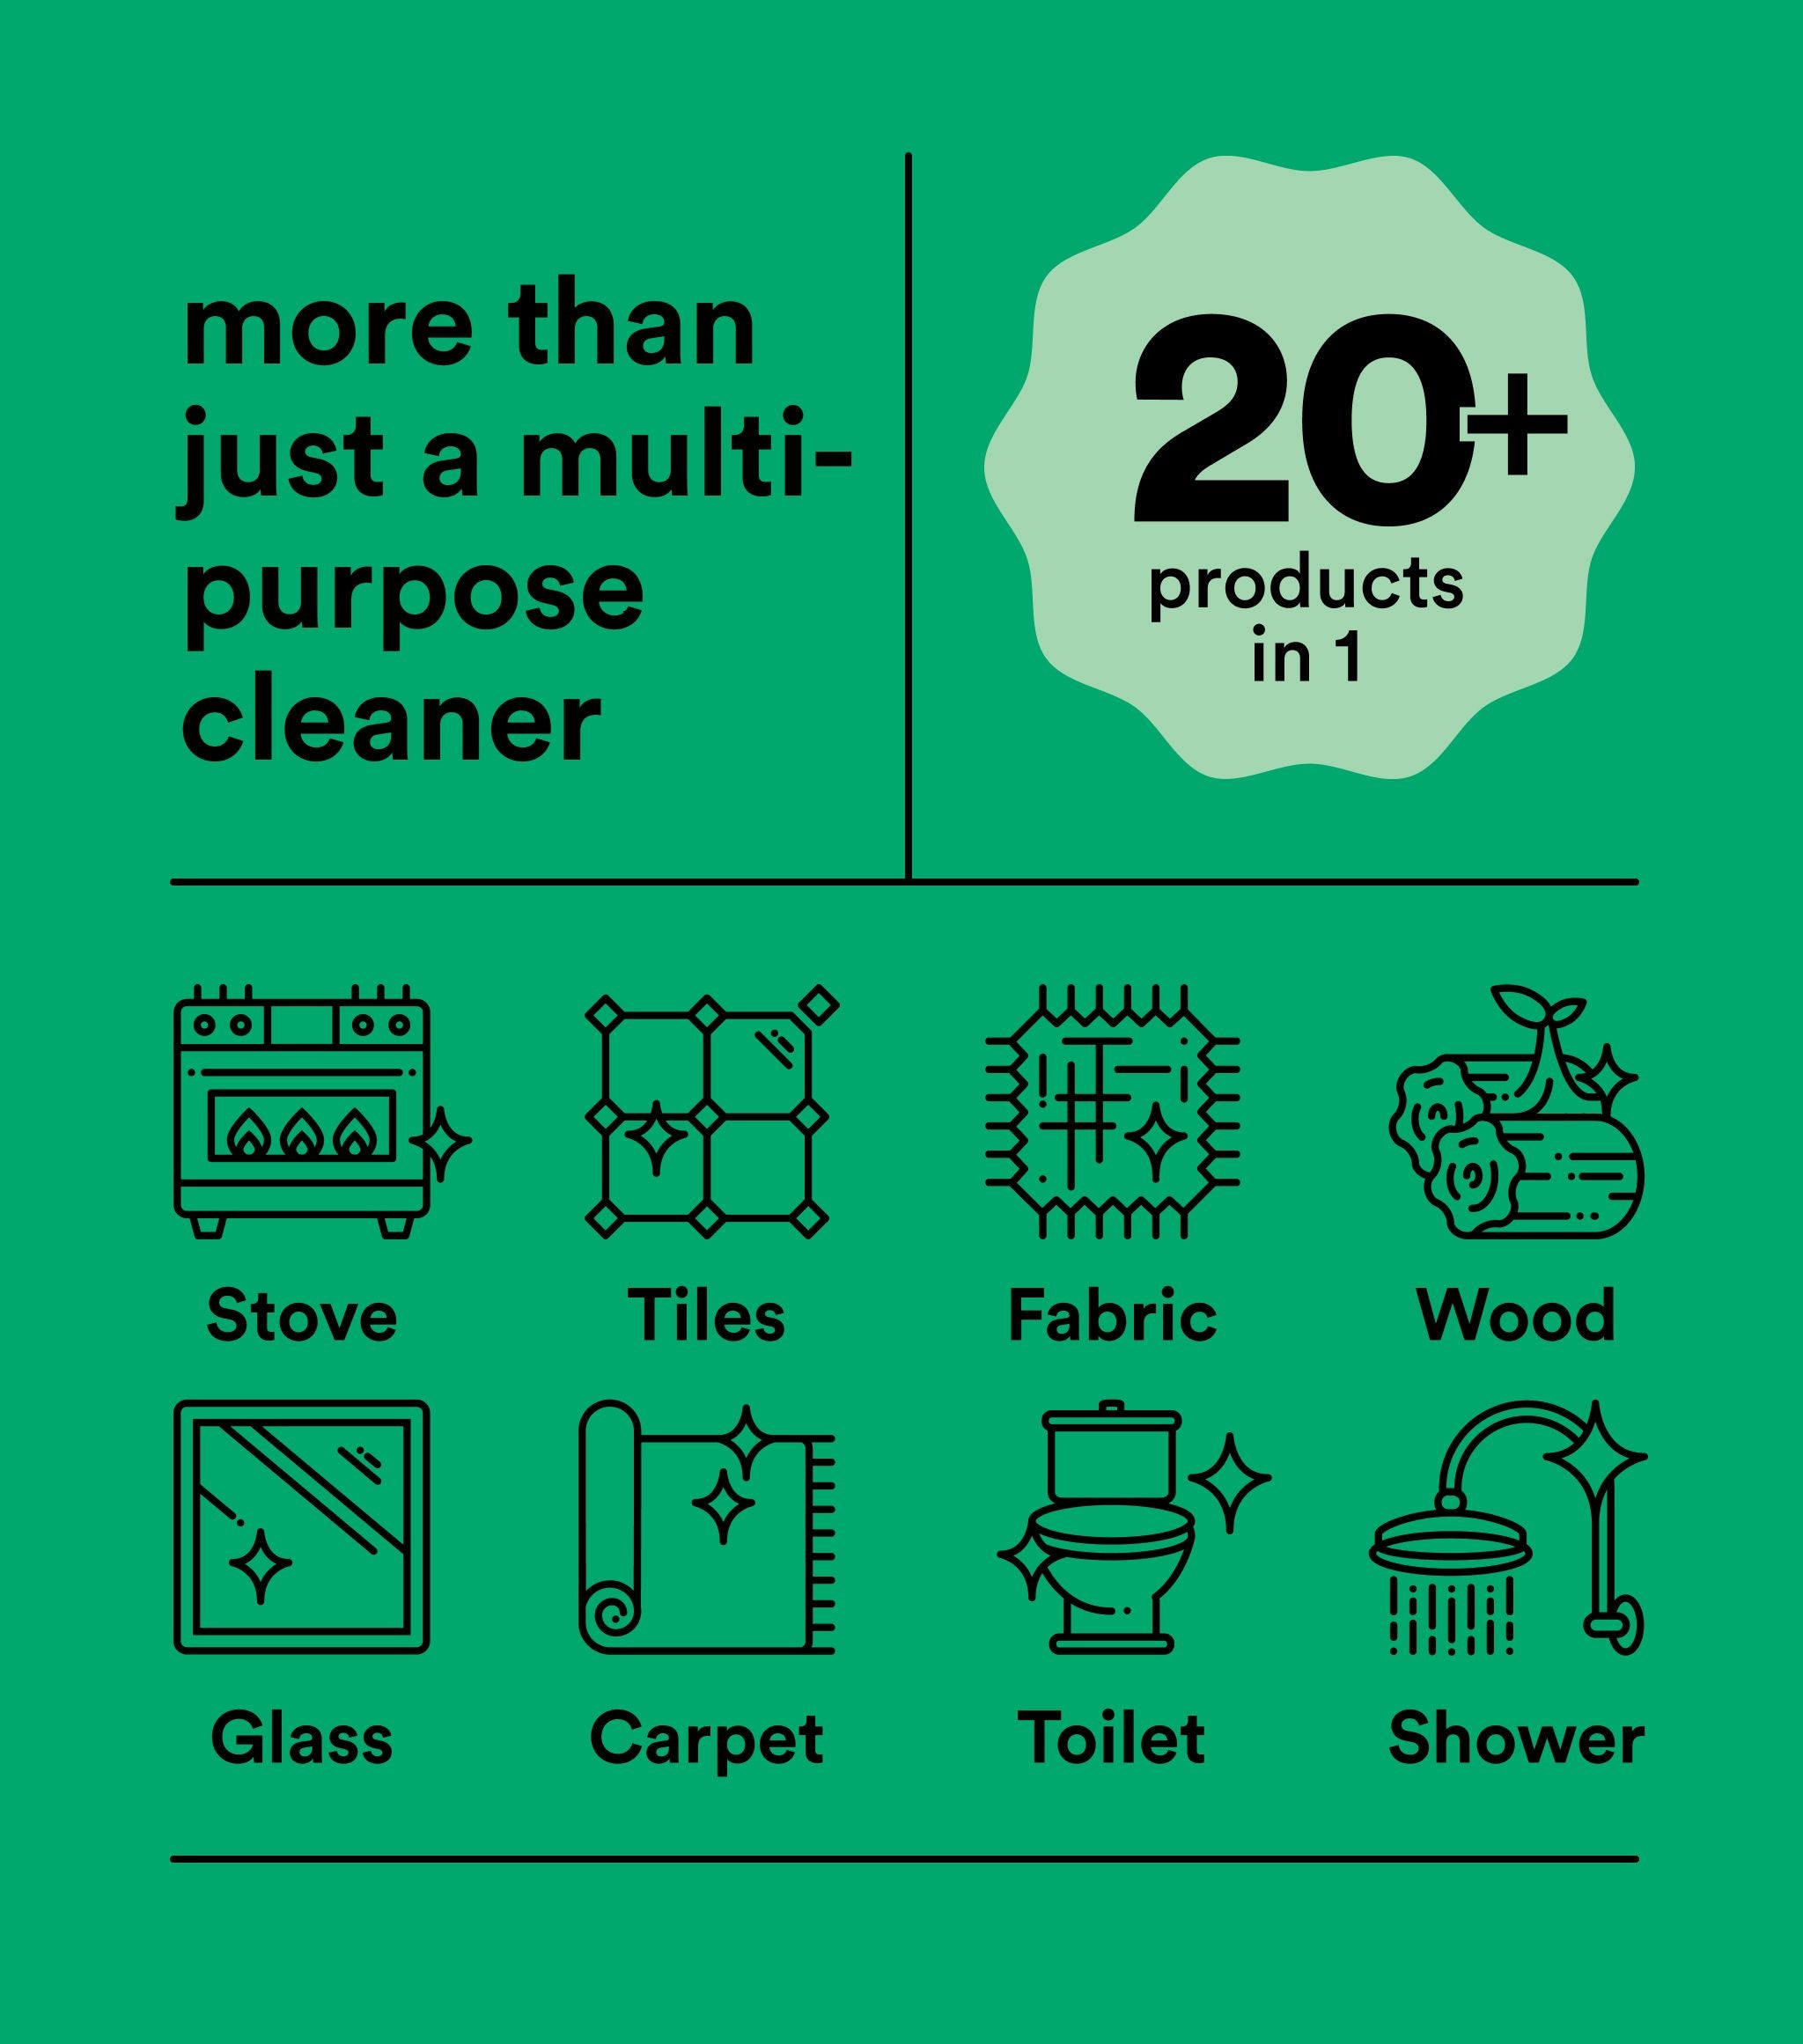
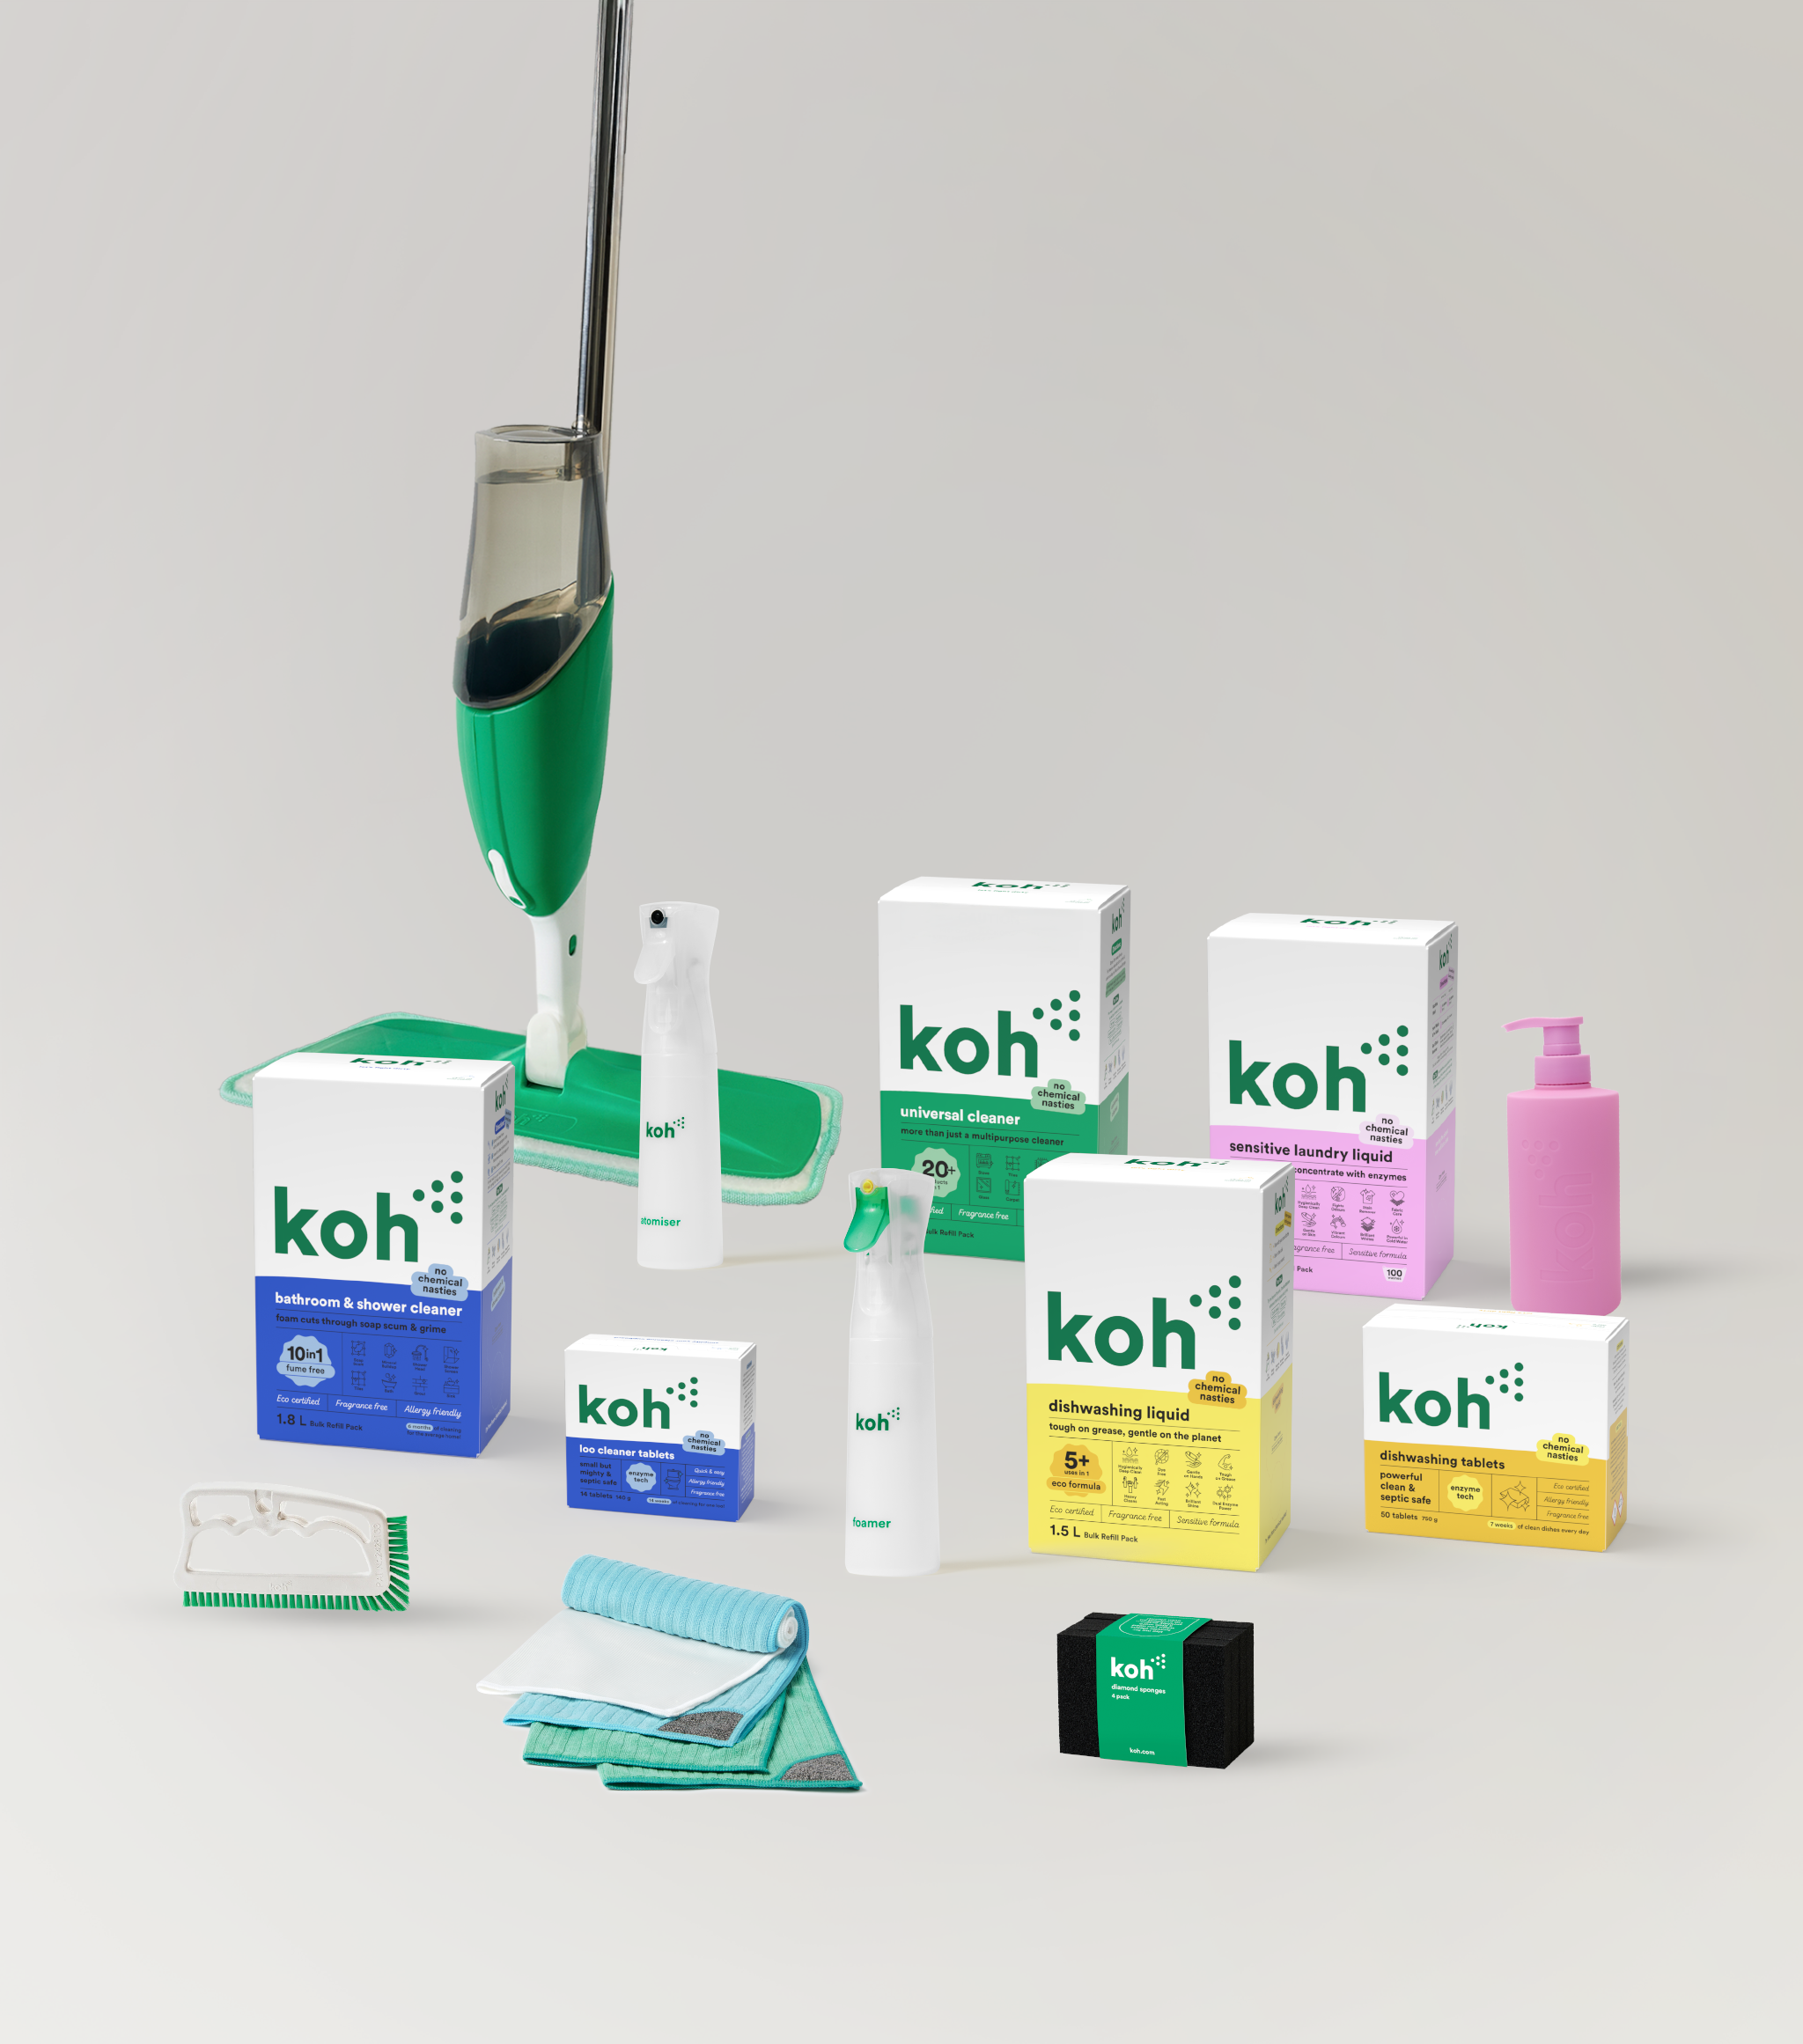
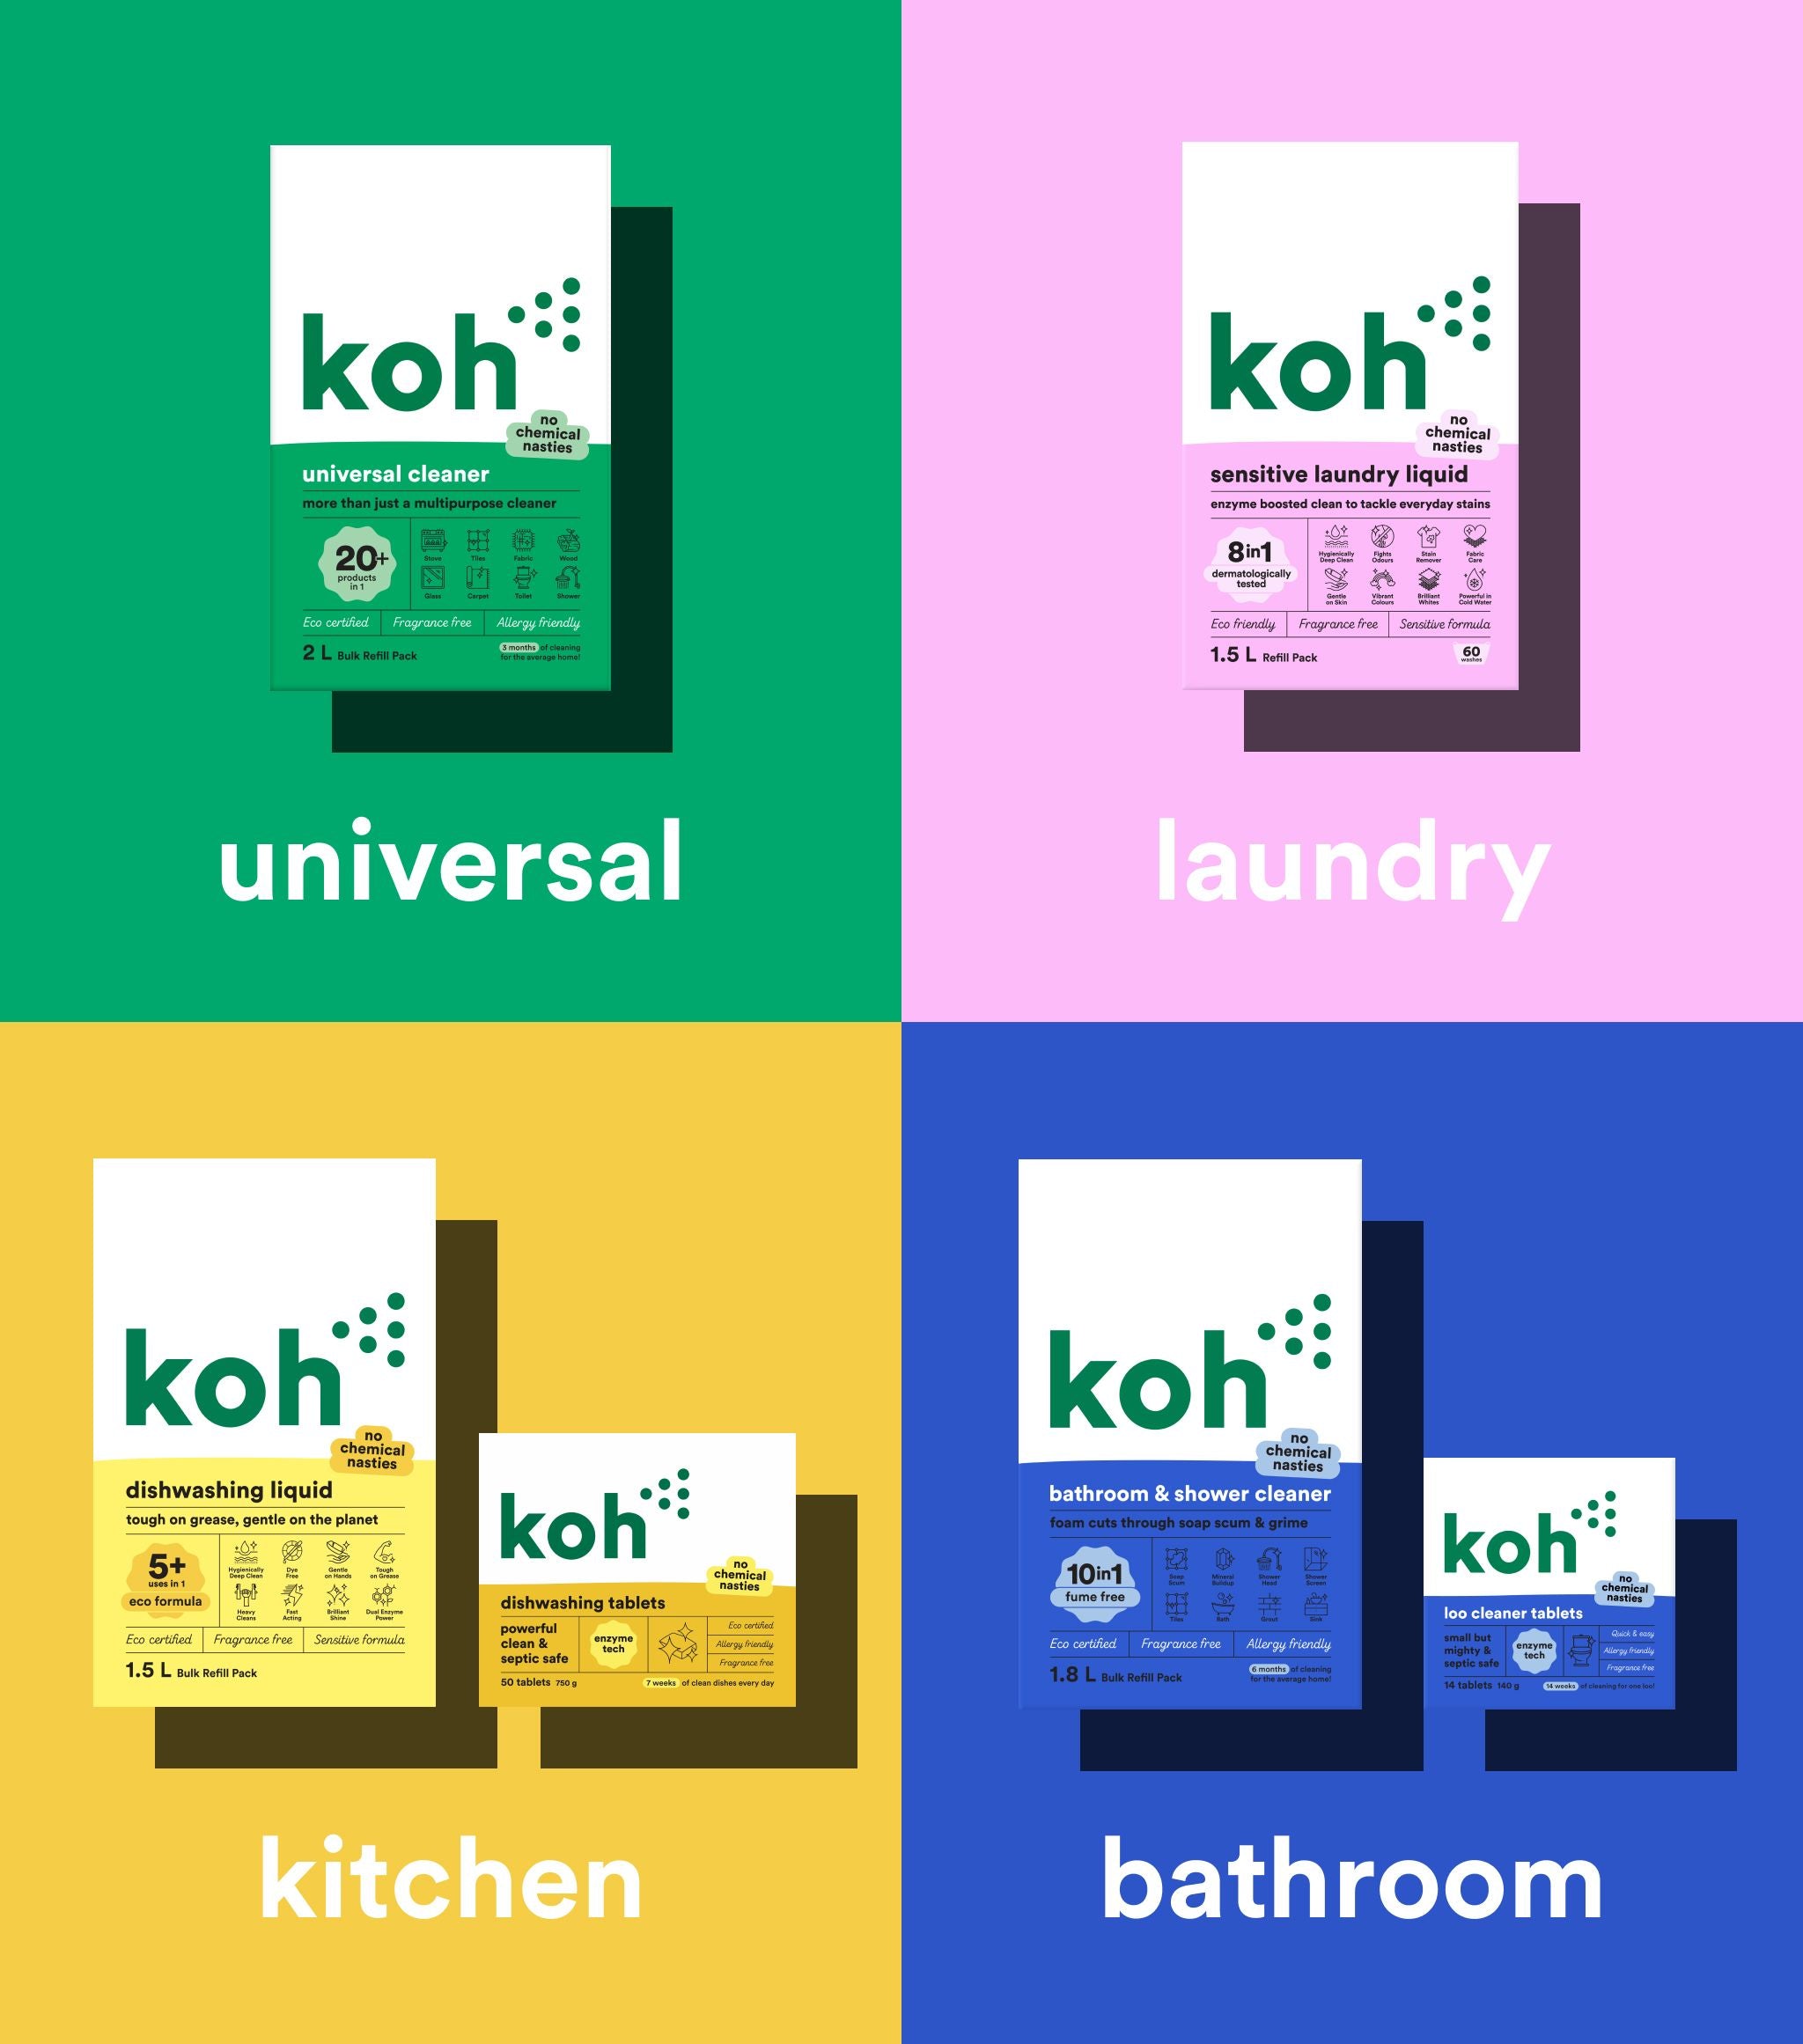
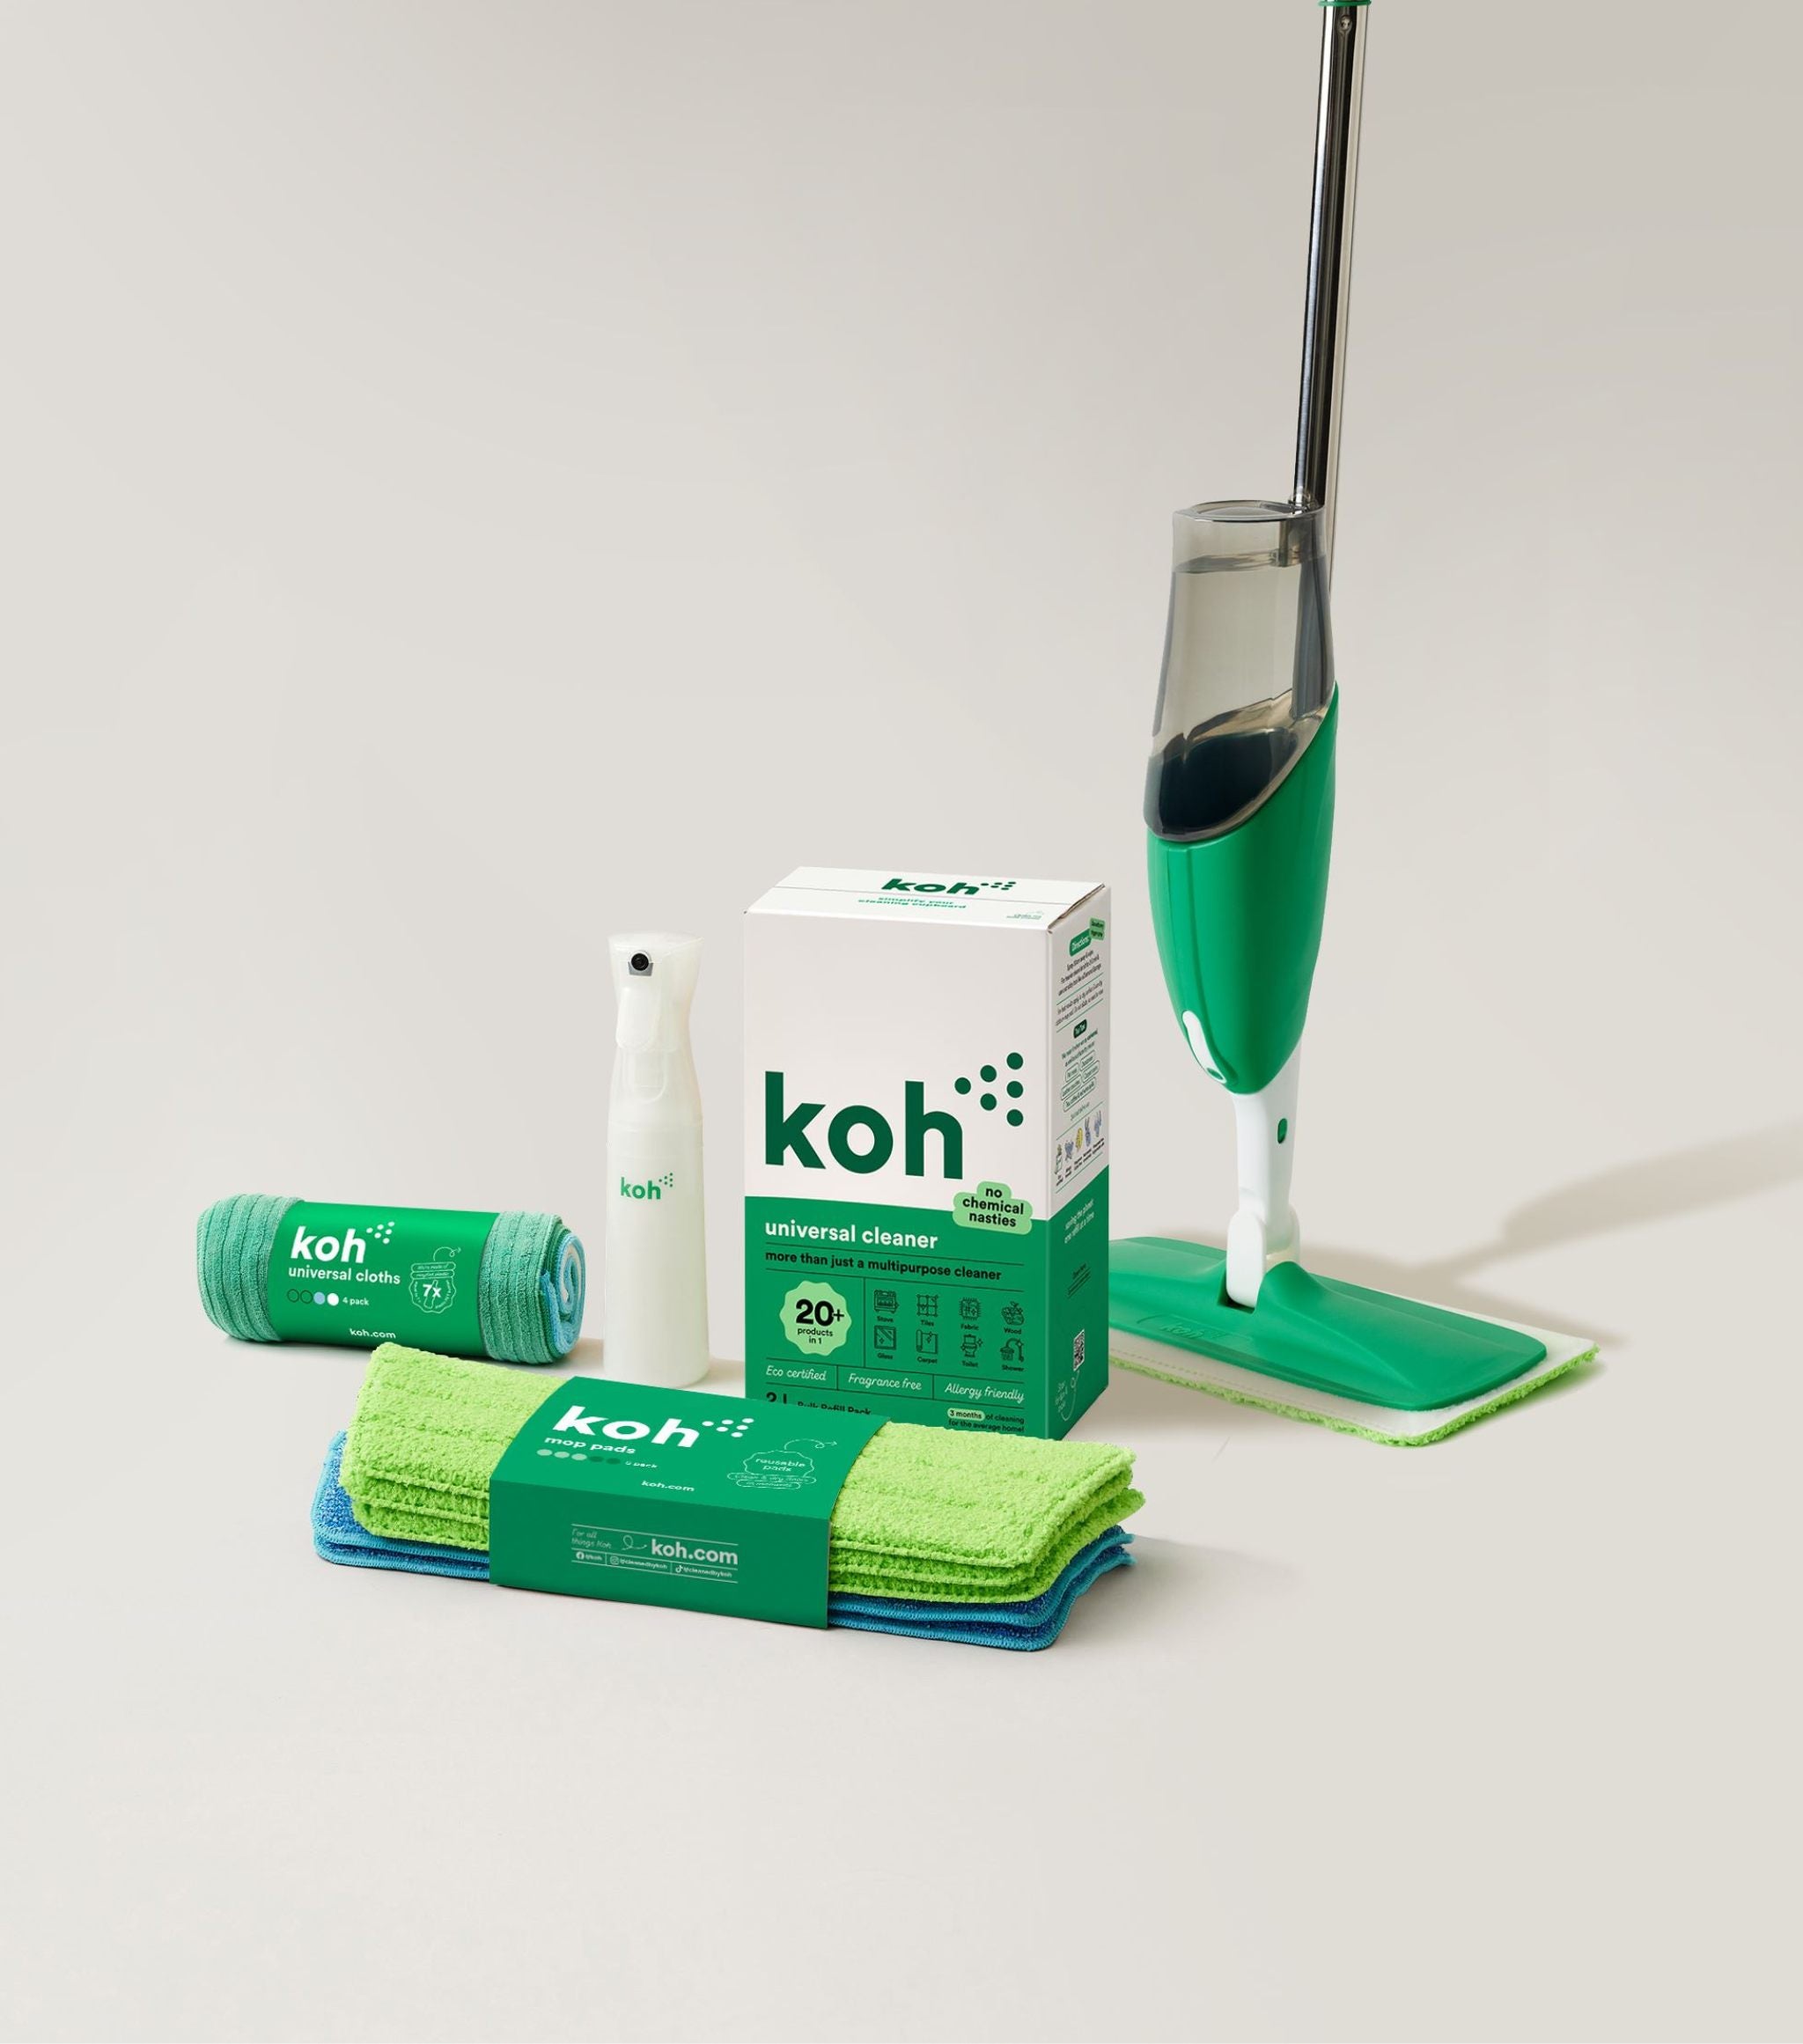
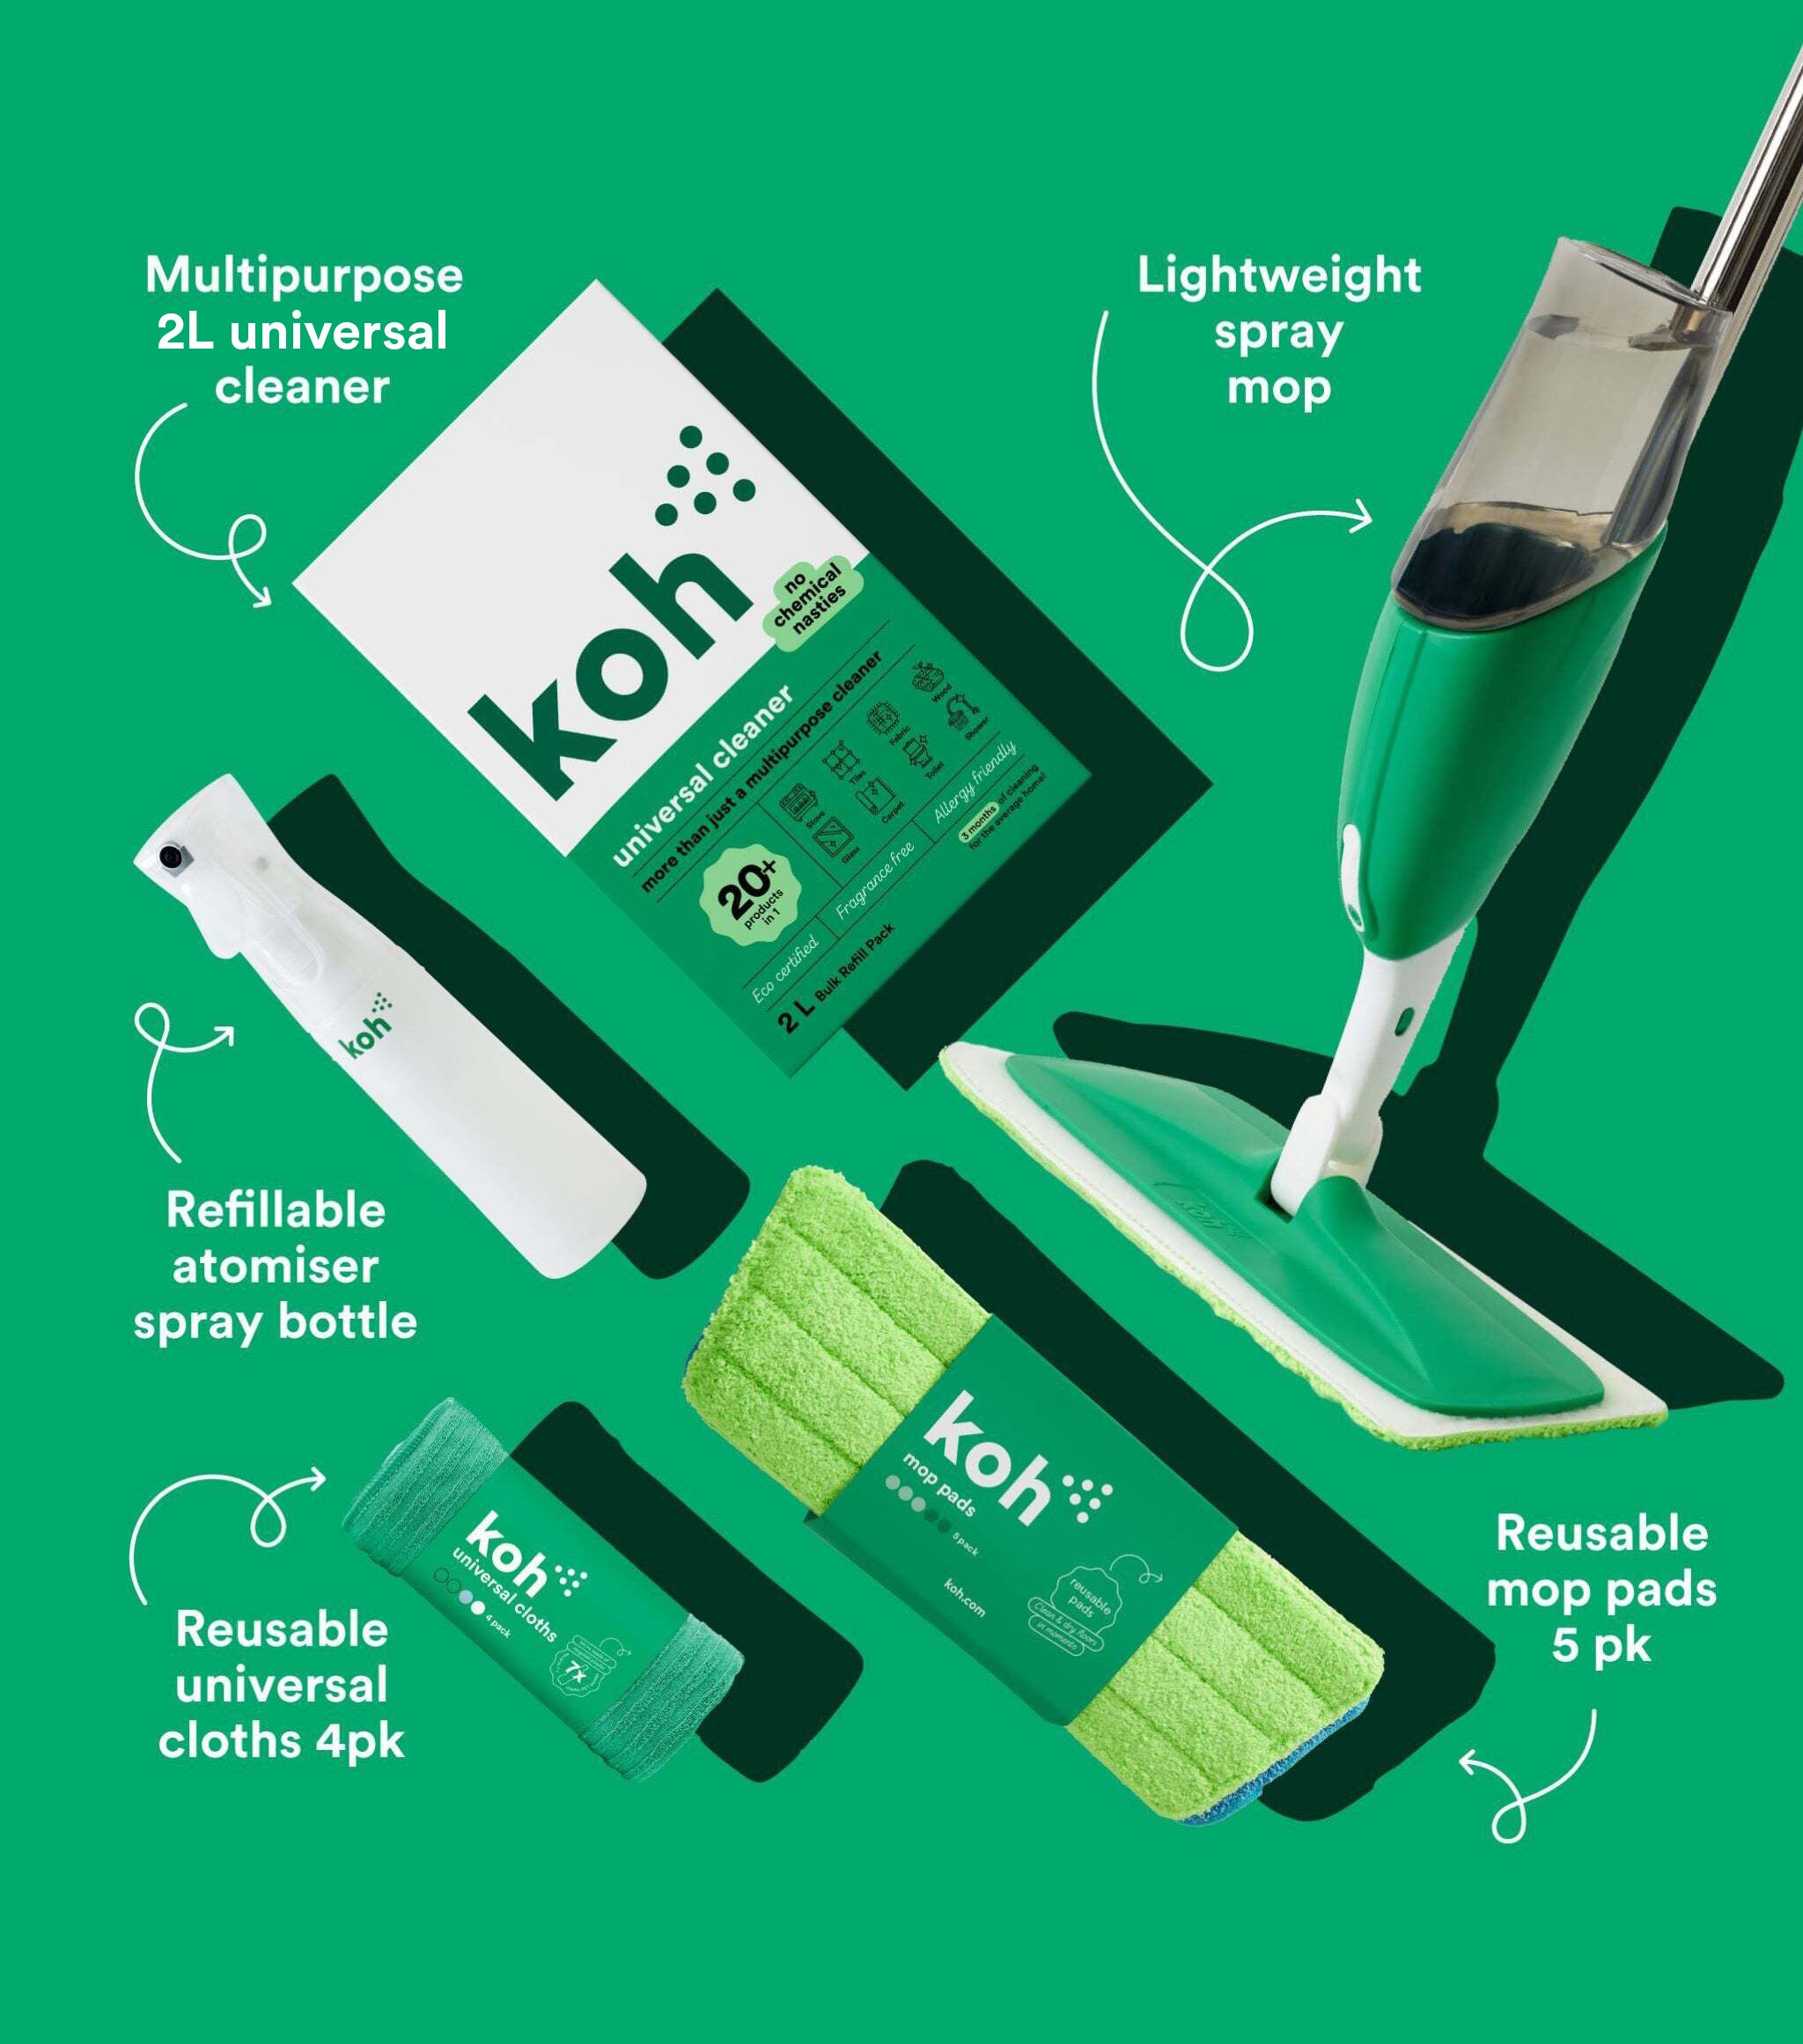
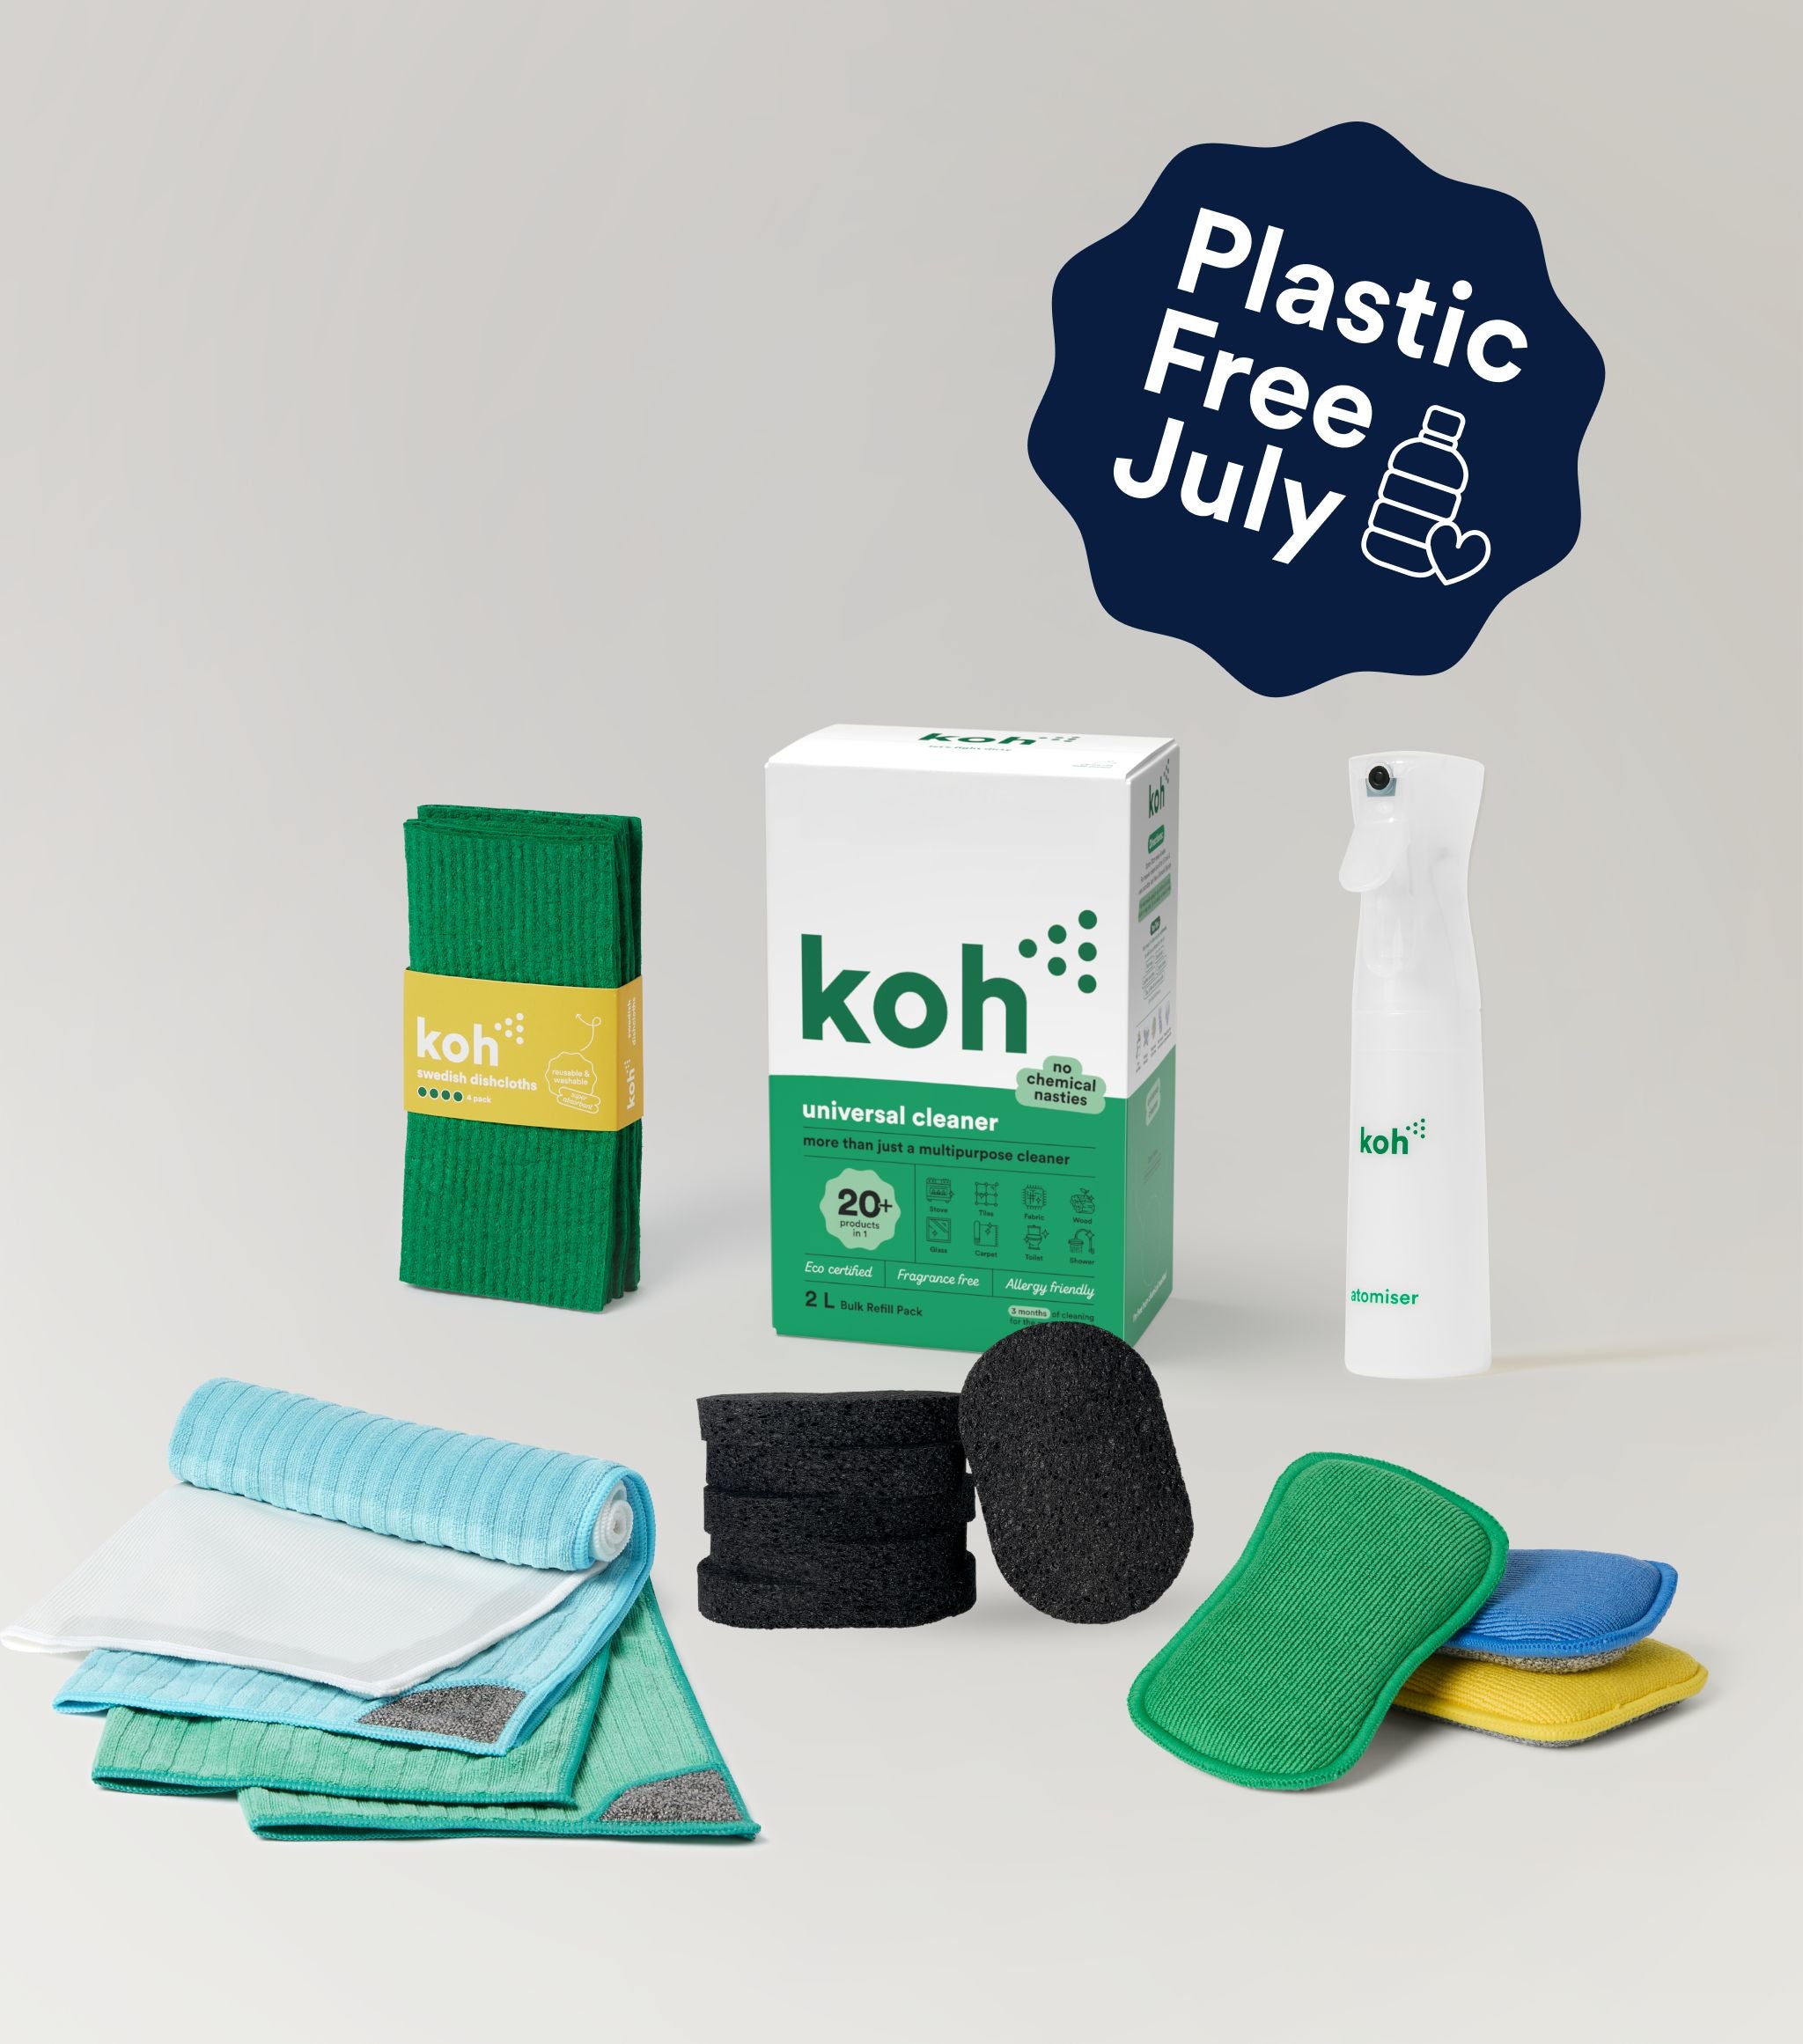
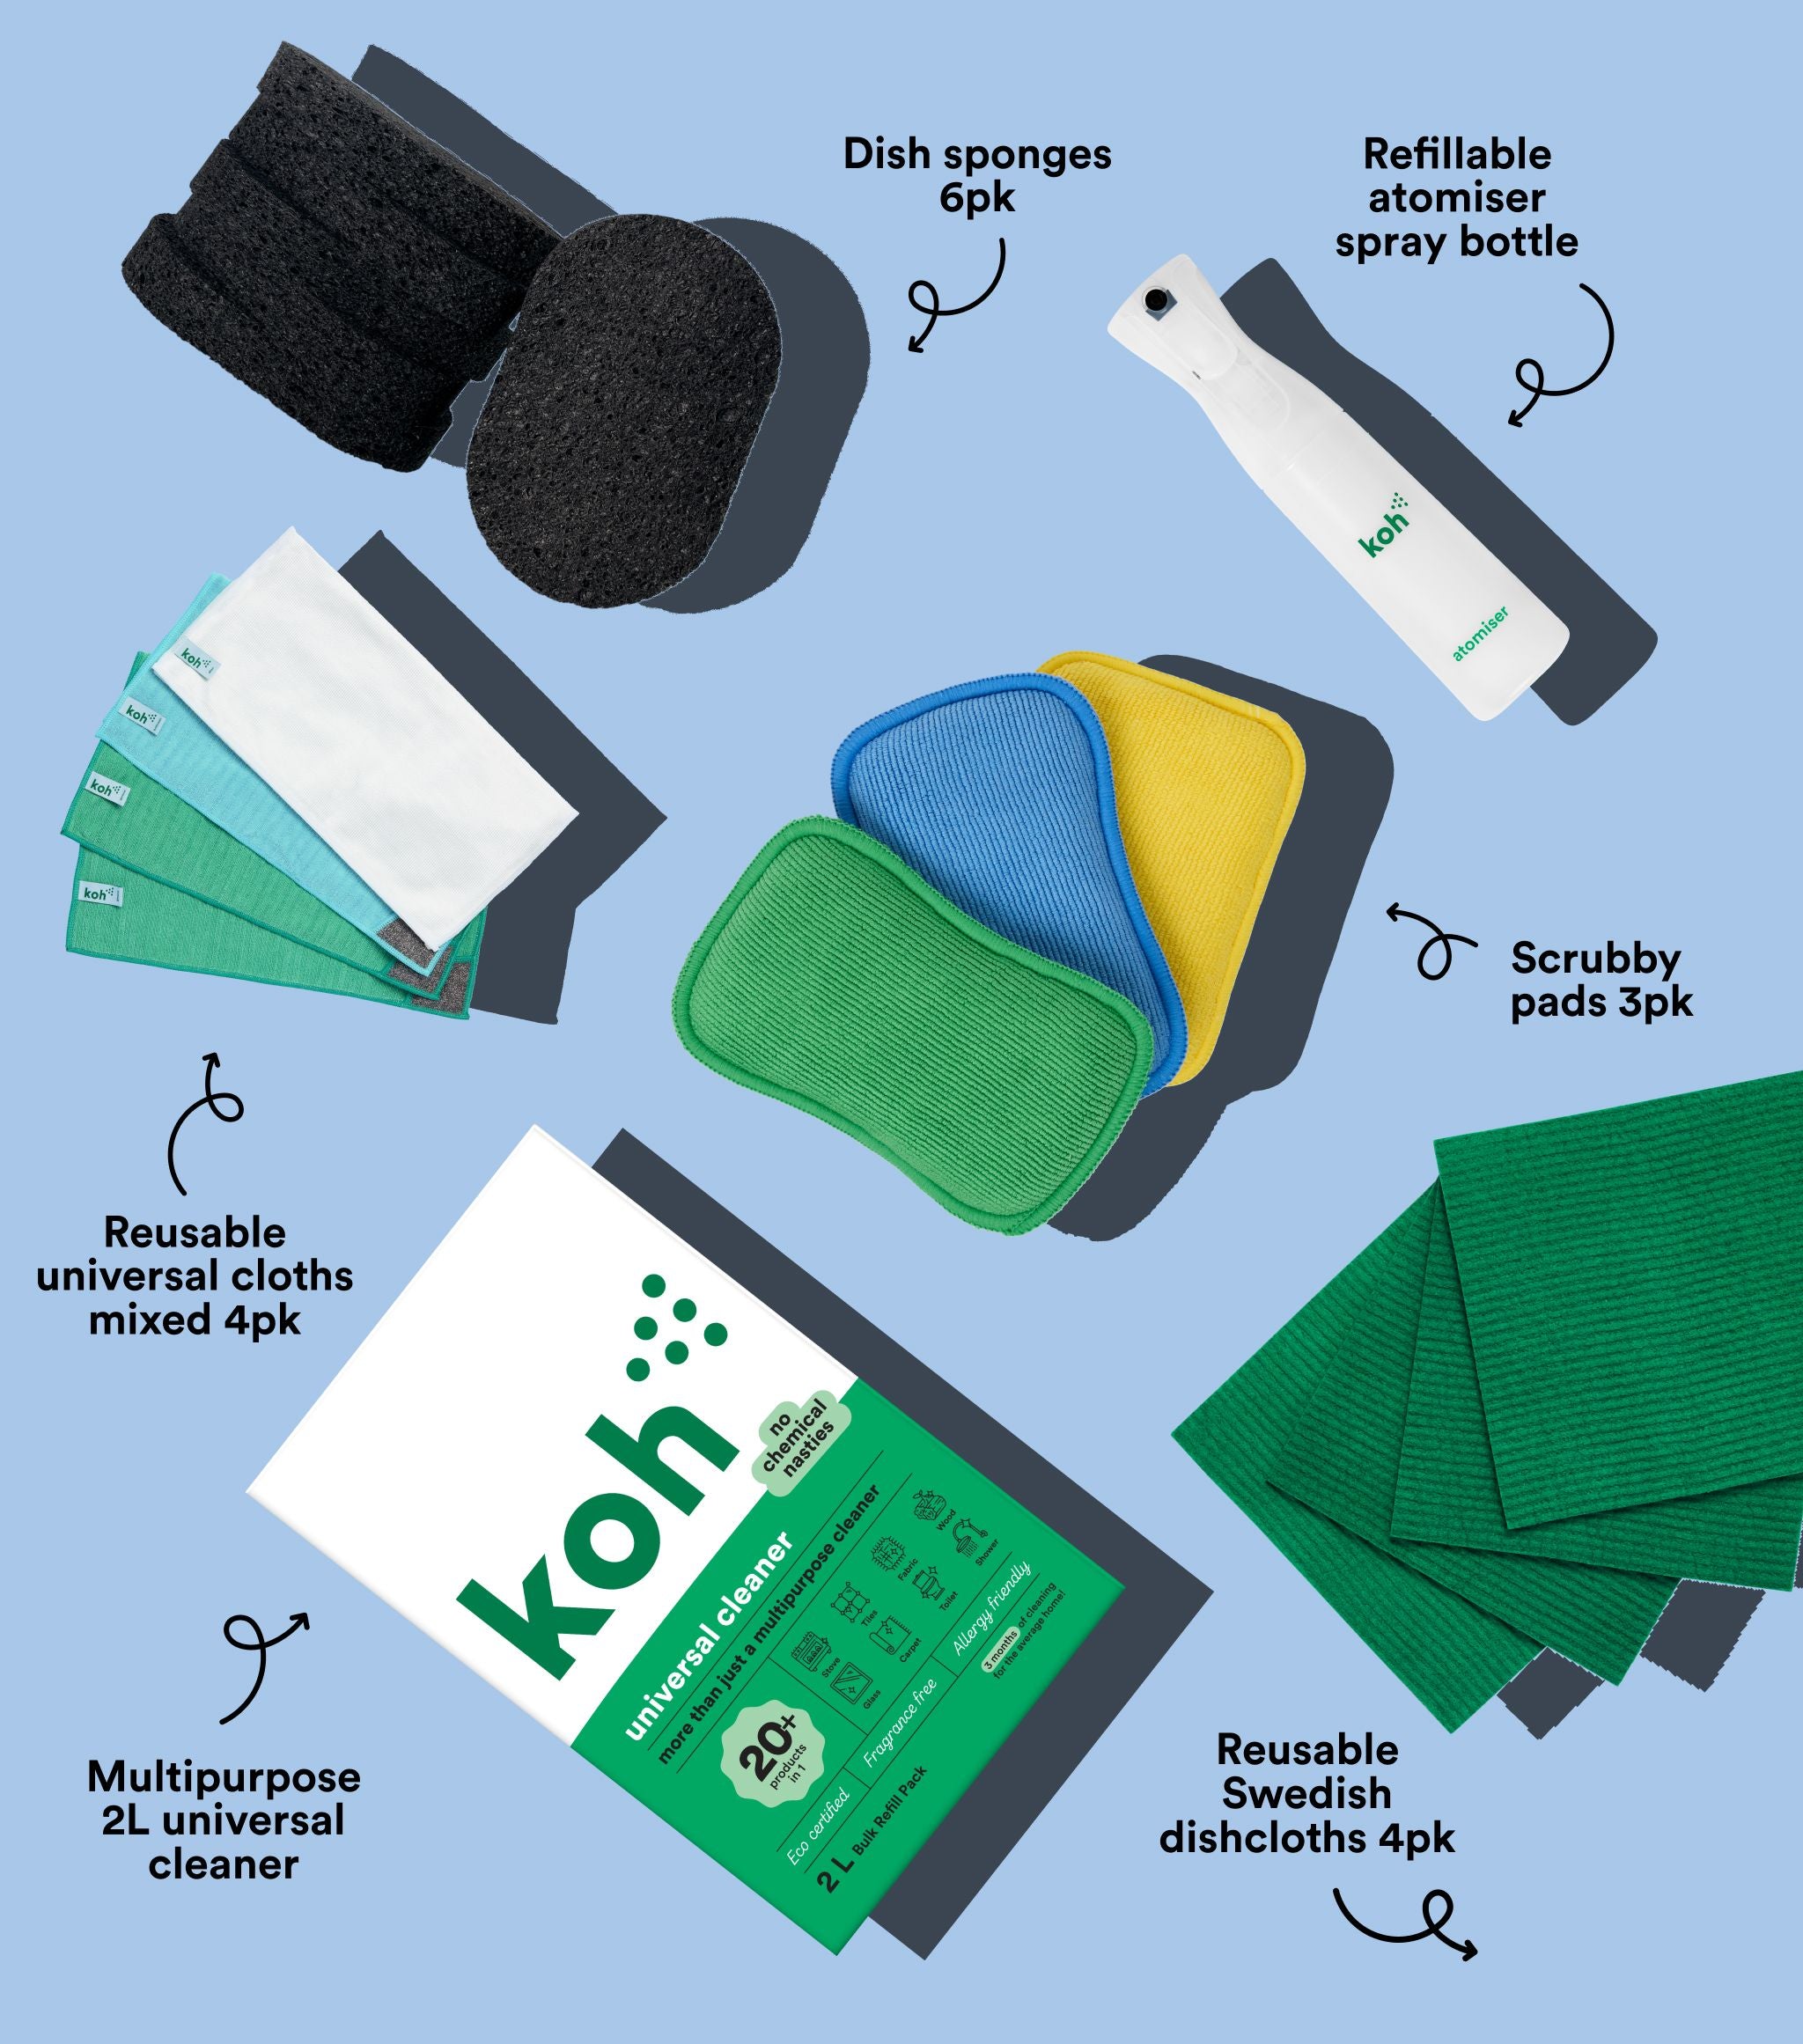
✔ Universal Cleaner – cuts through plaster, dust and light grime
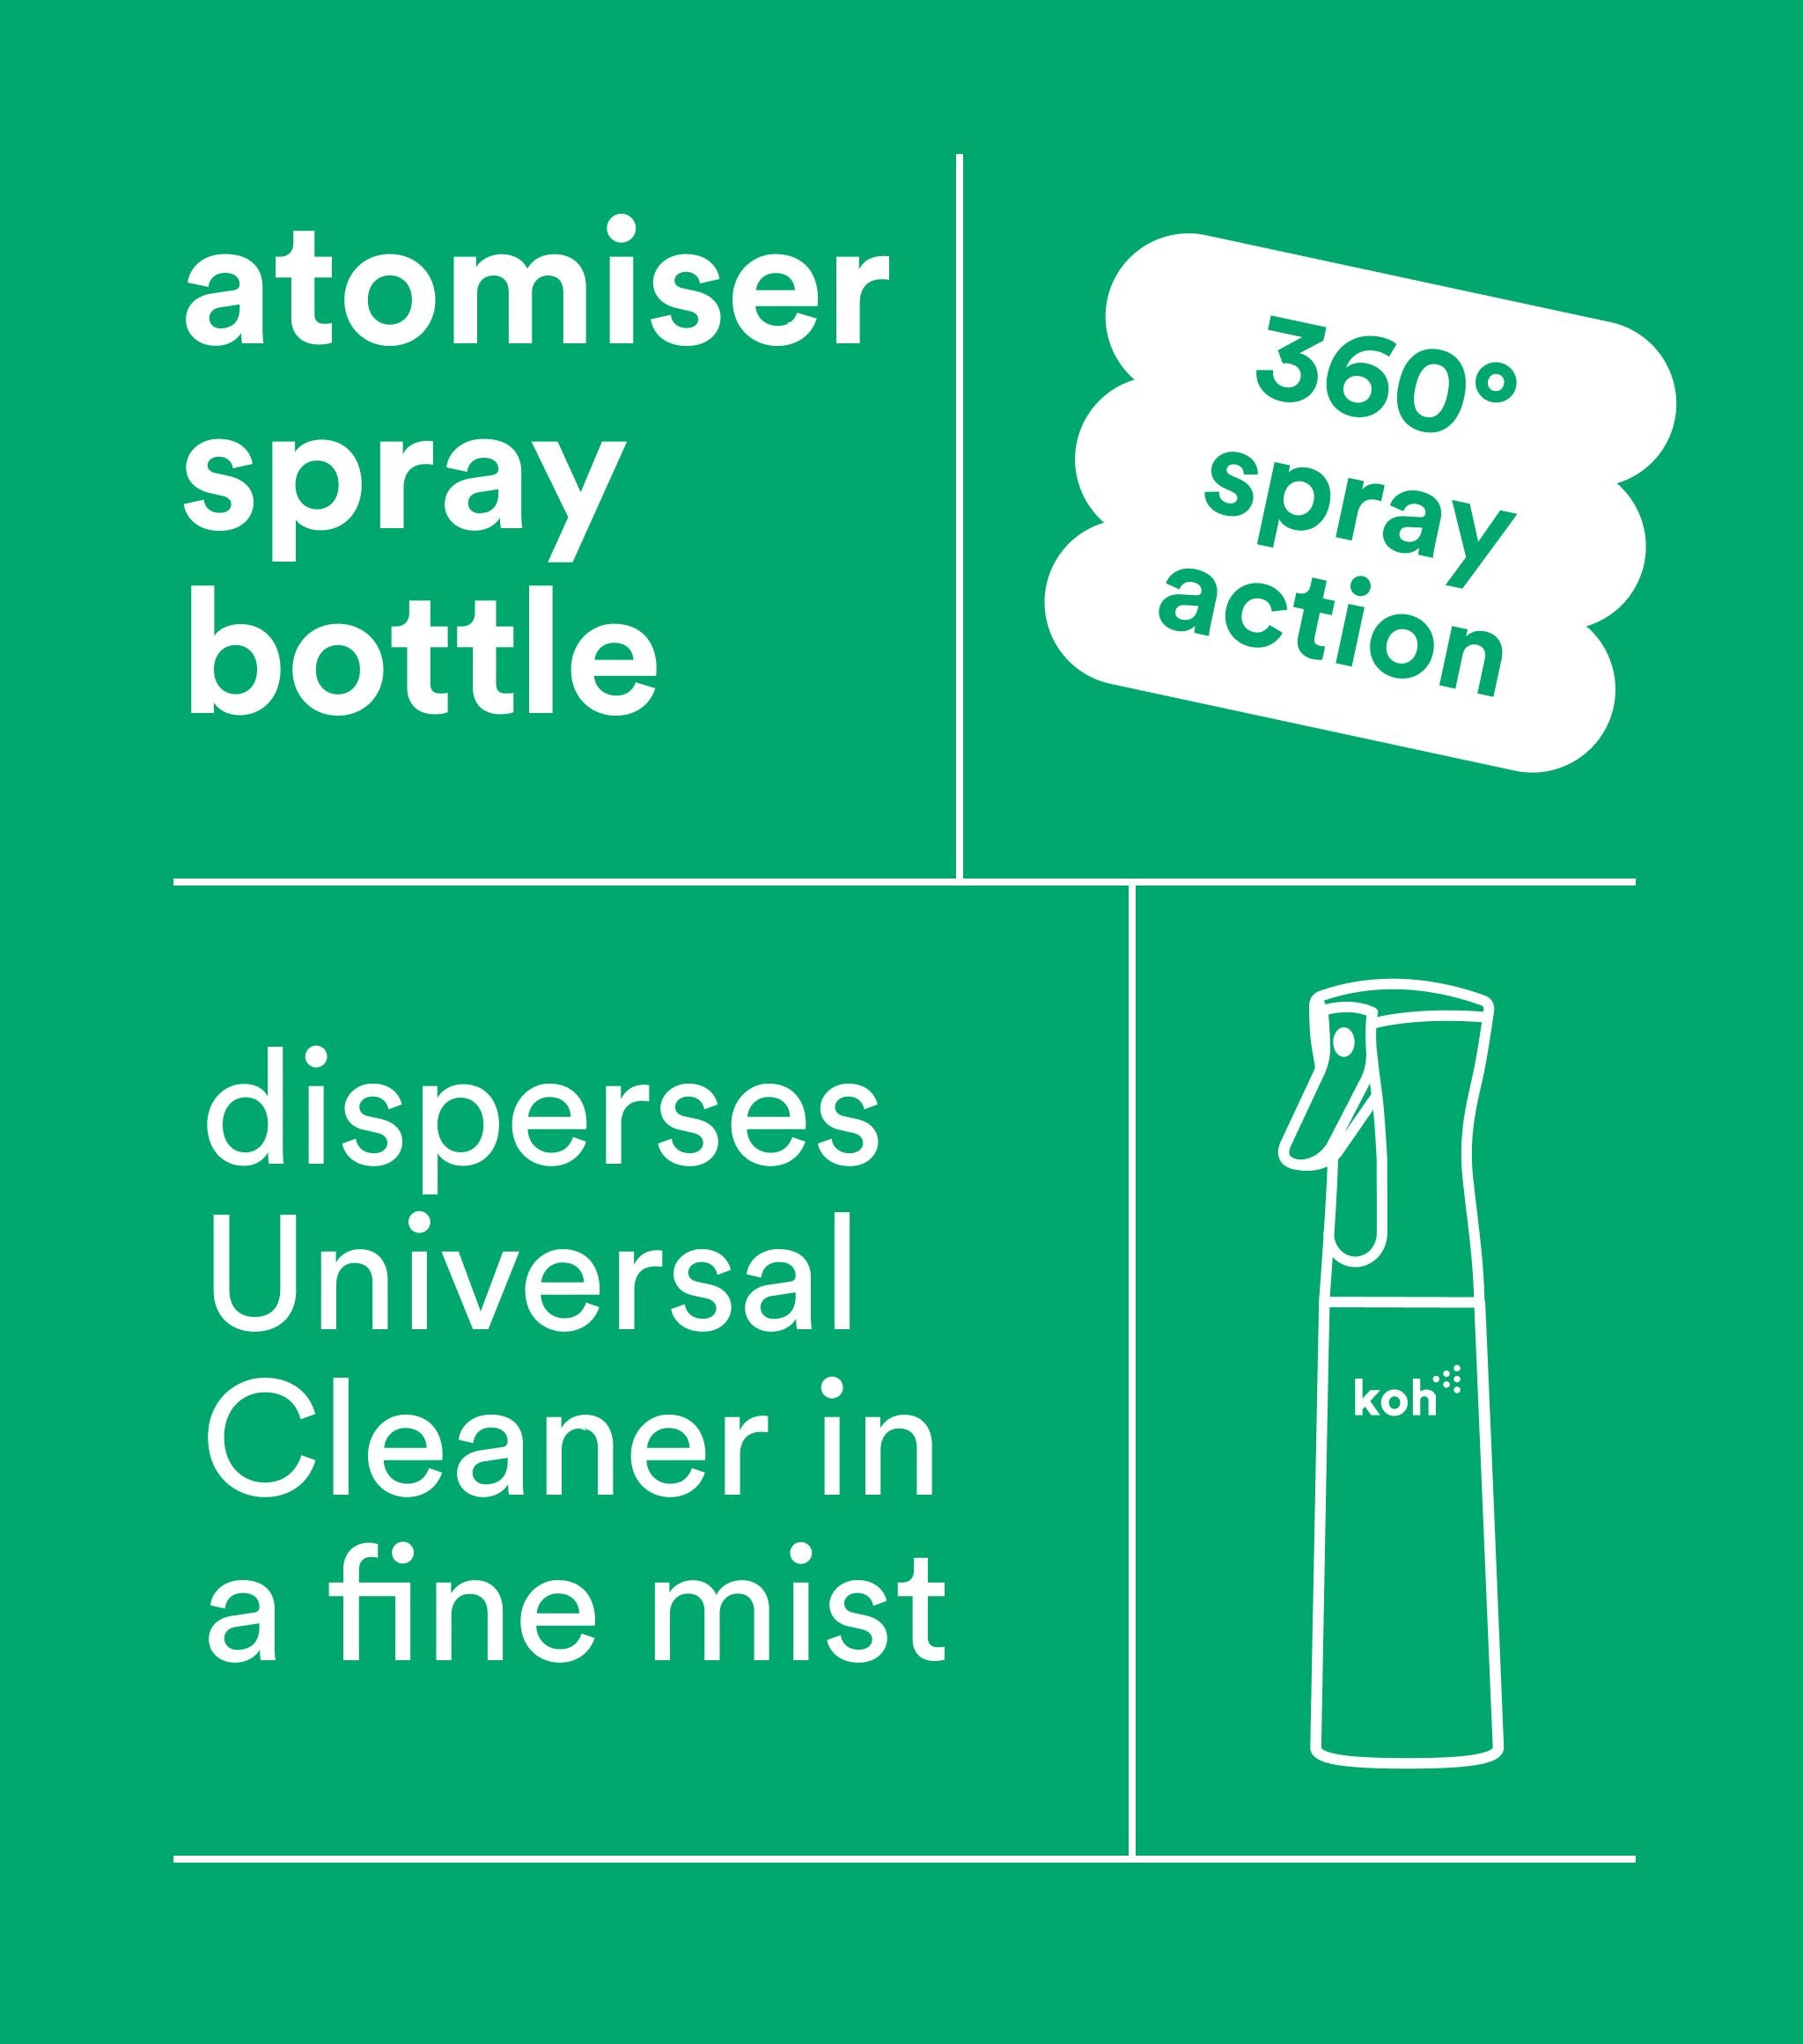
✔ Atomiser – for targeted spray control
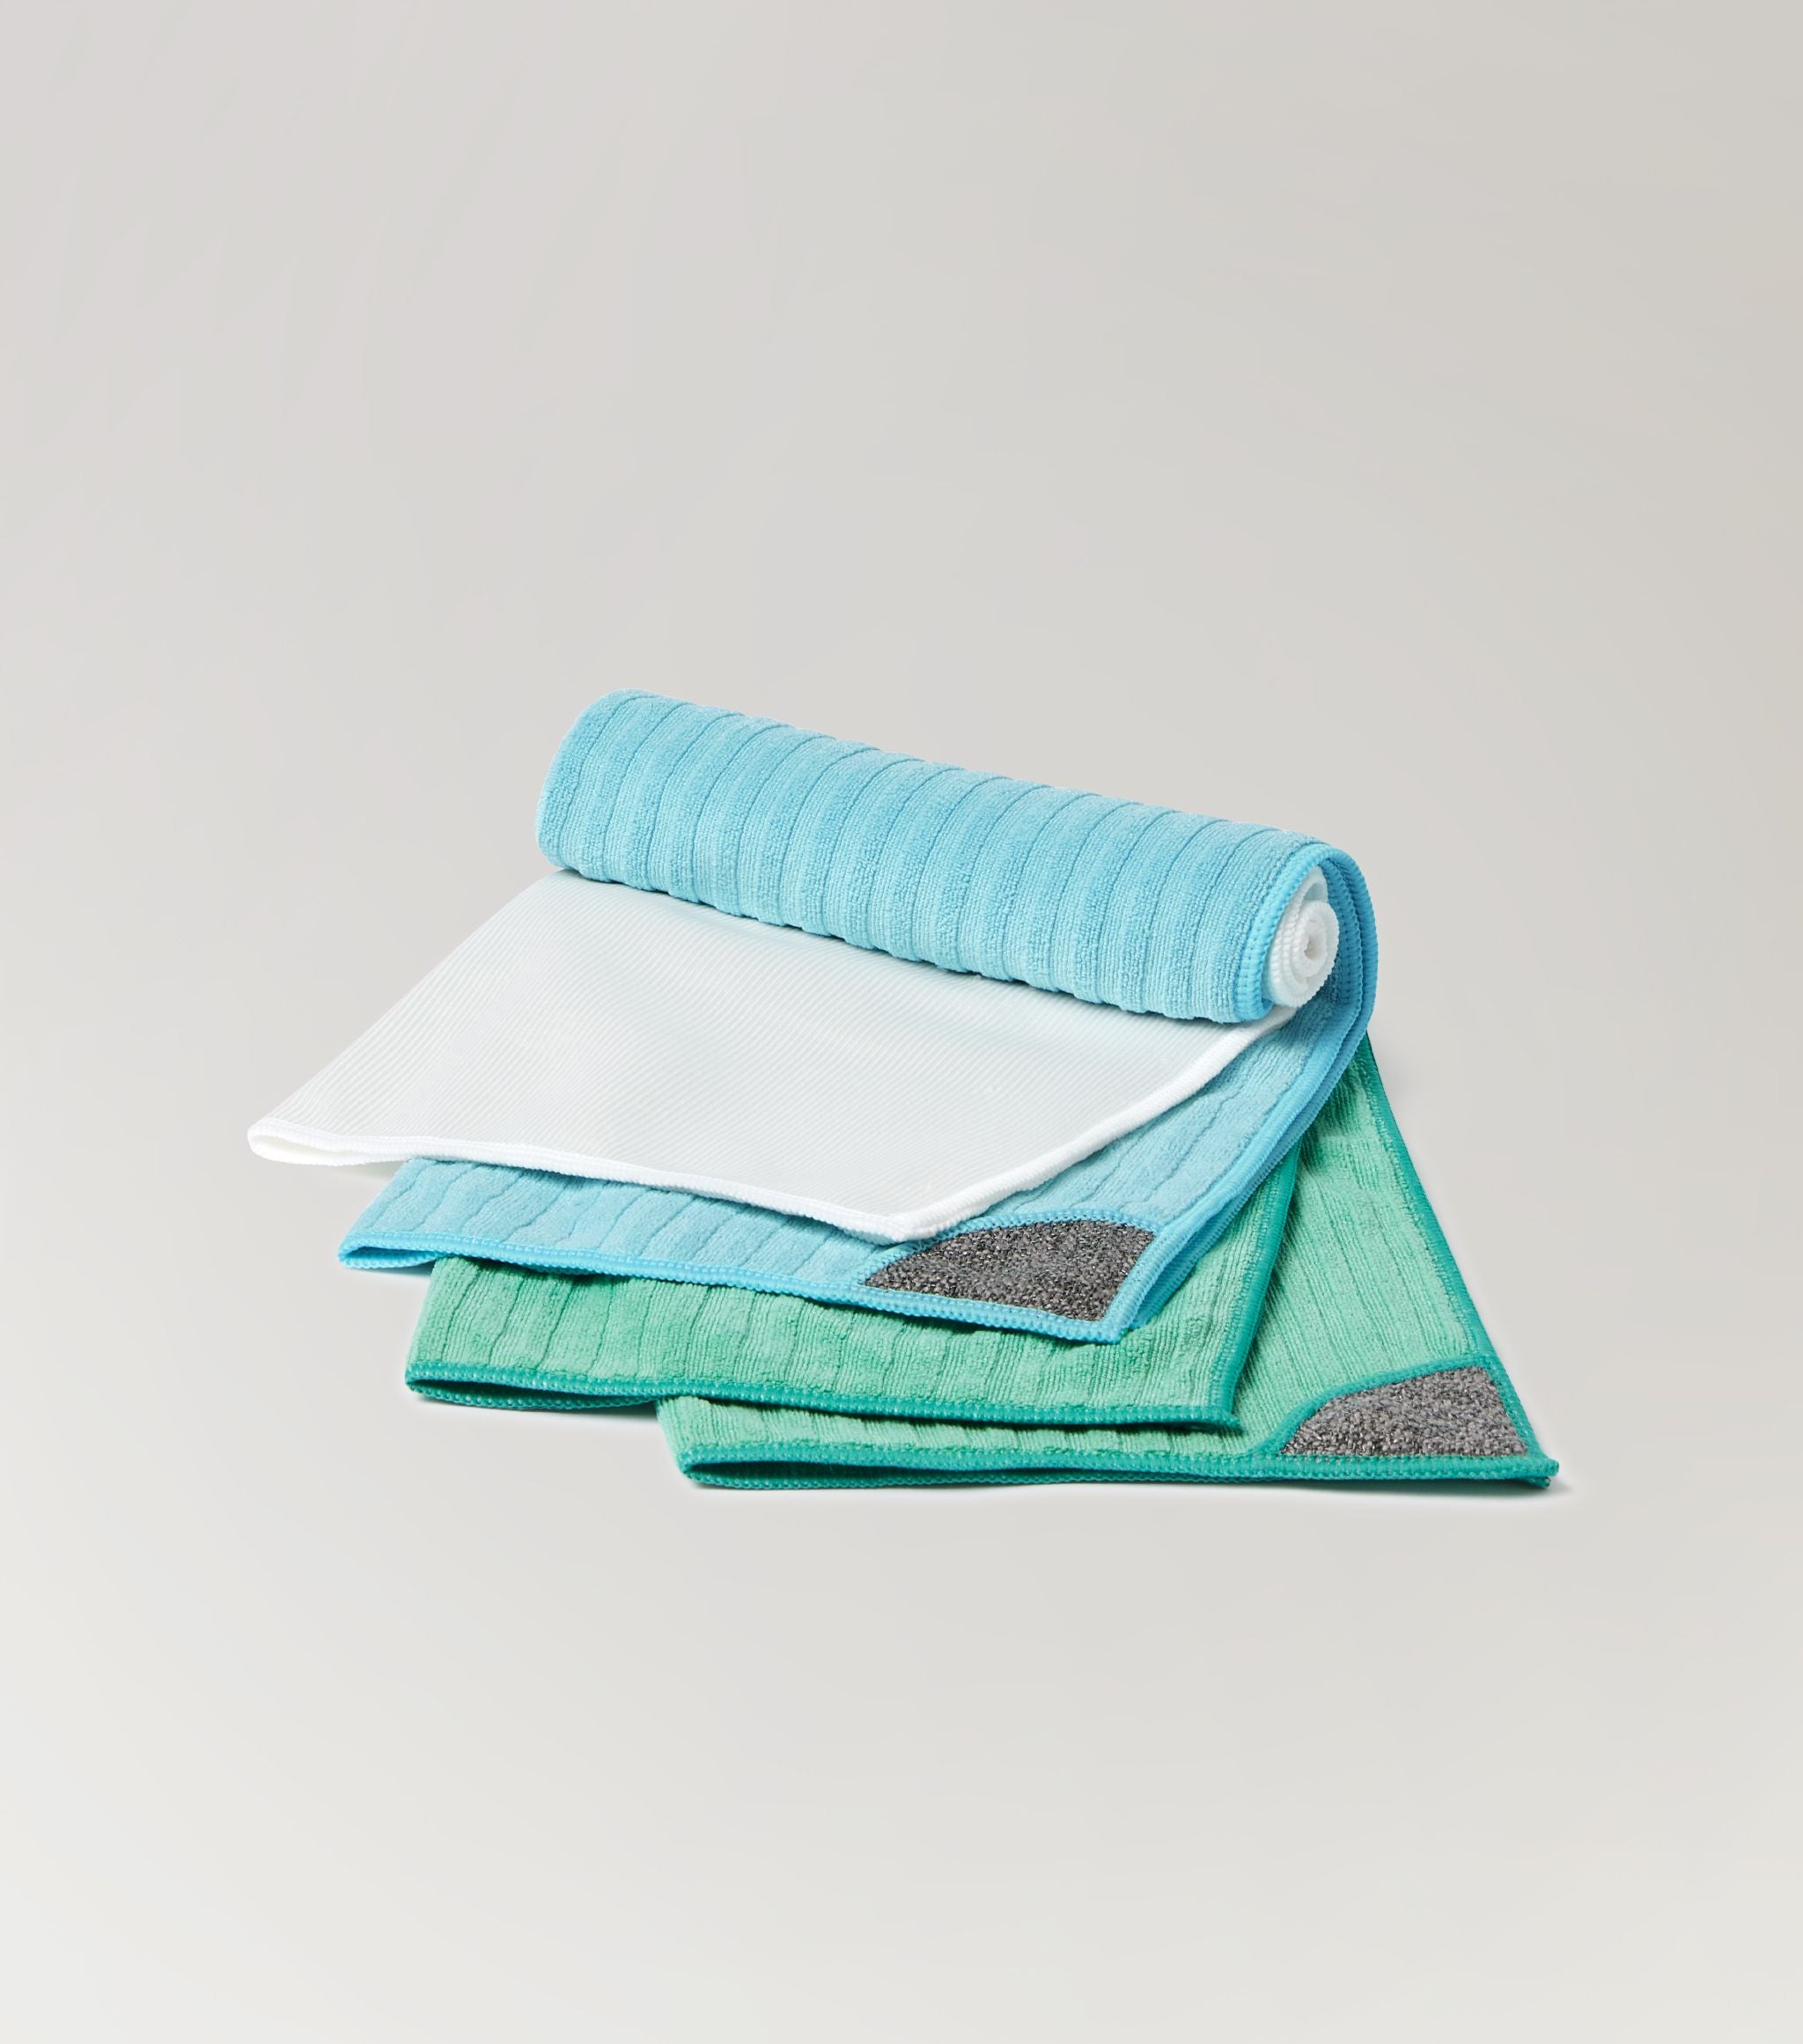
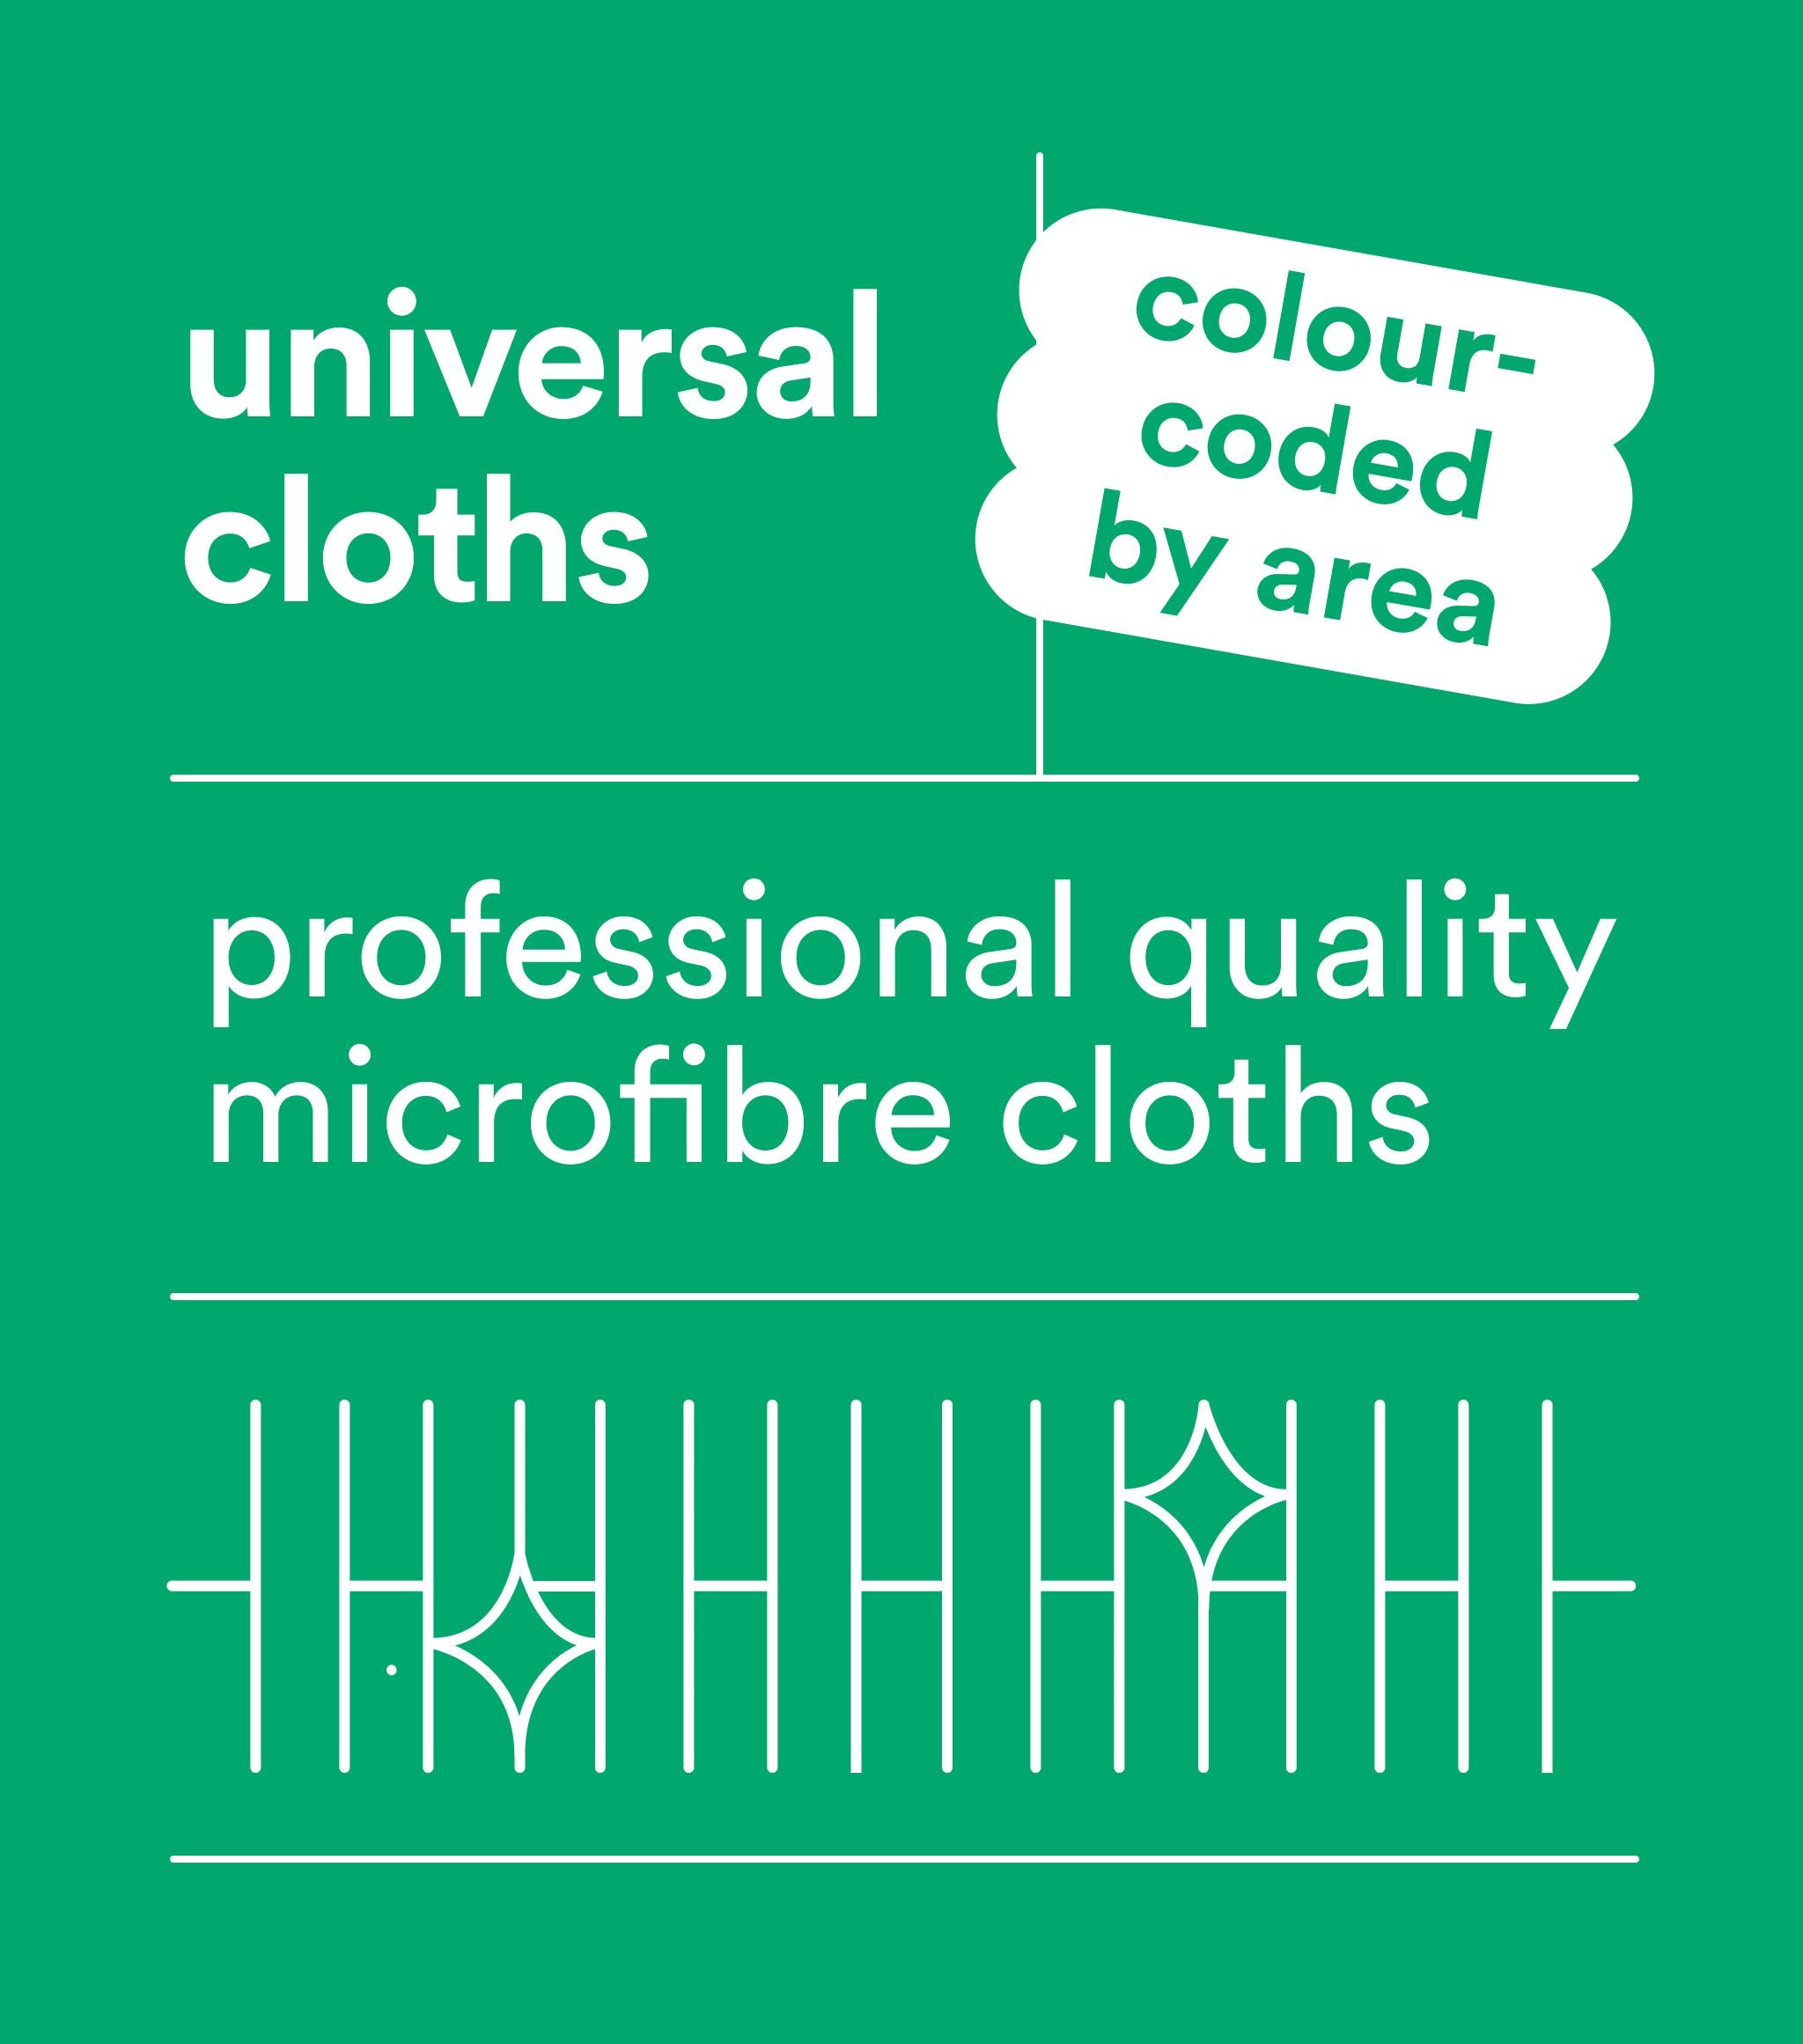
✔ Universal Cloth – for wiping and spot cleaning
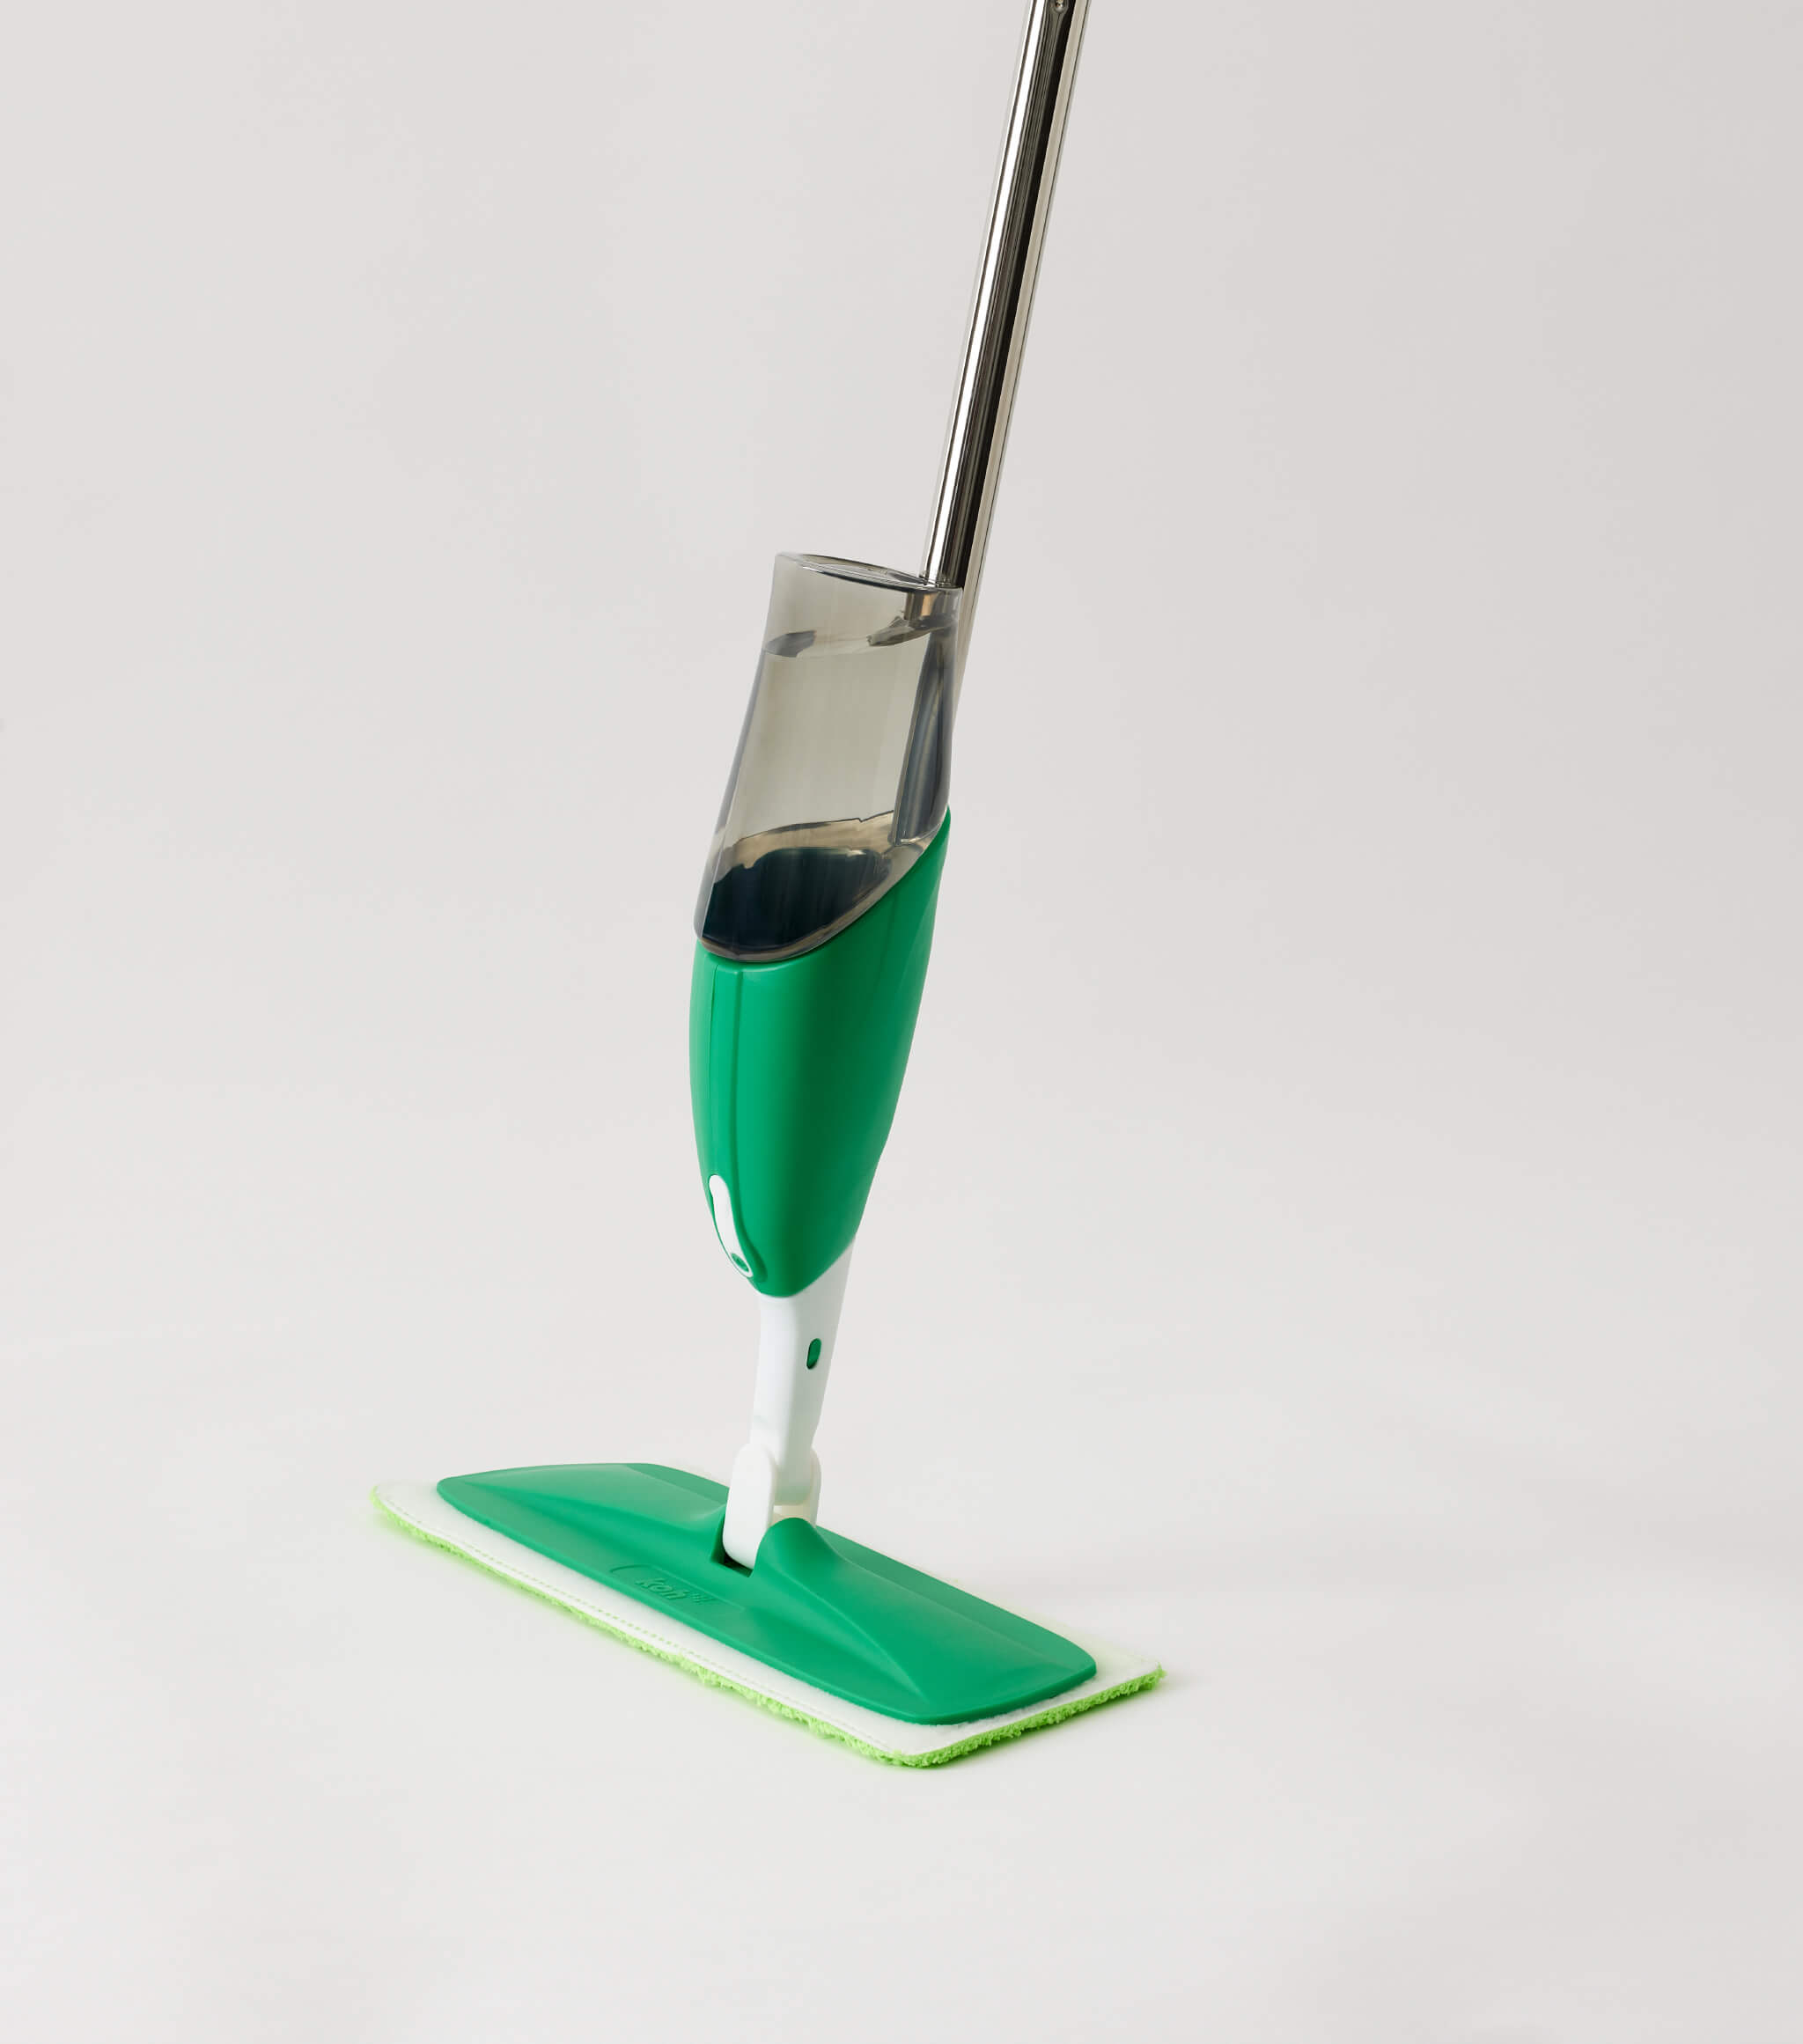
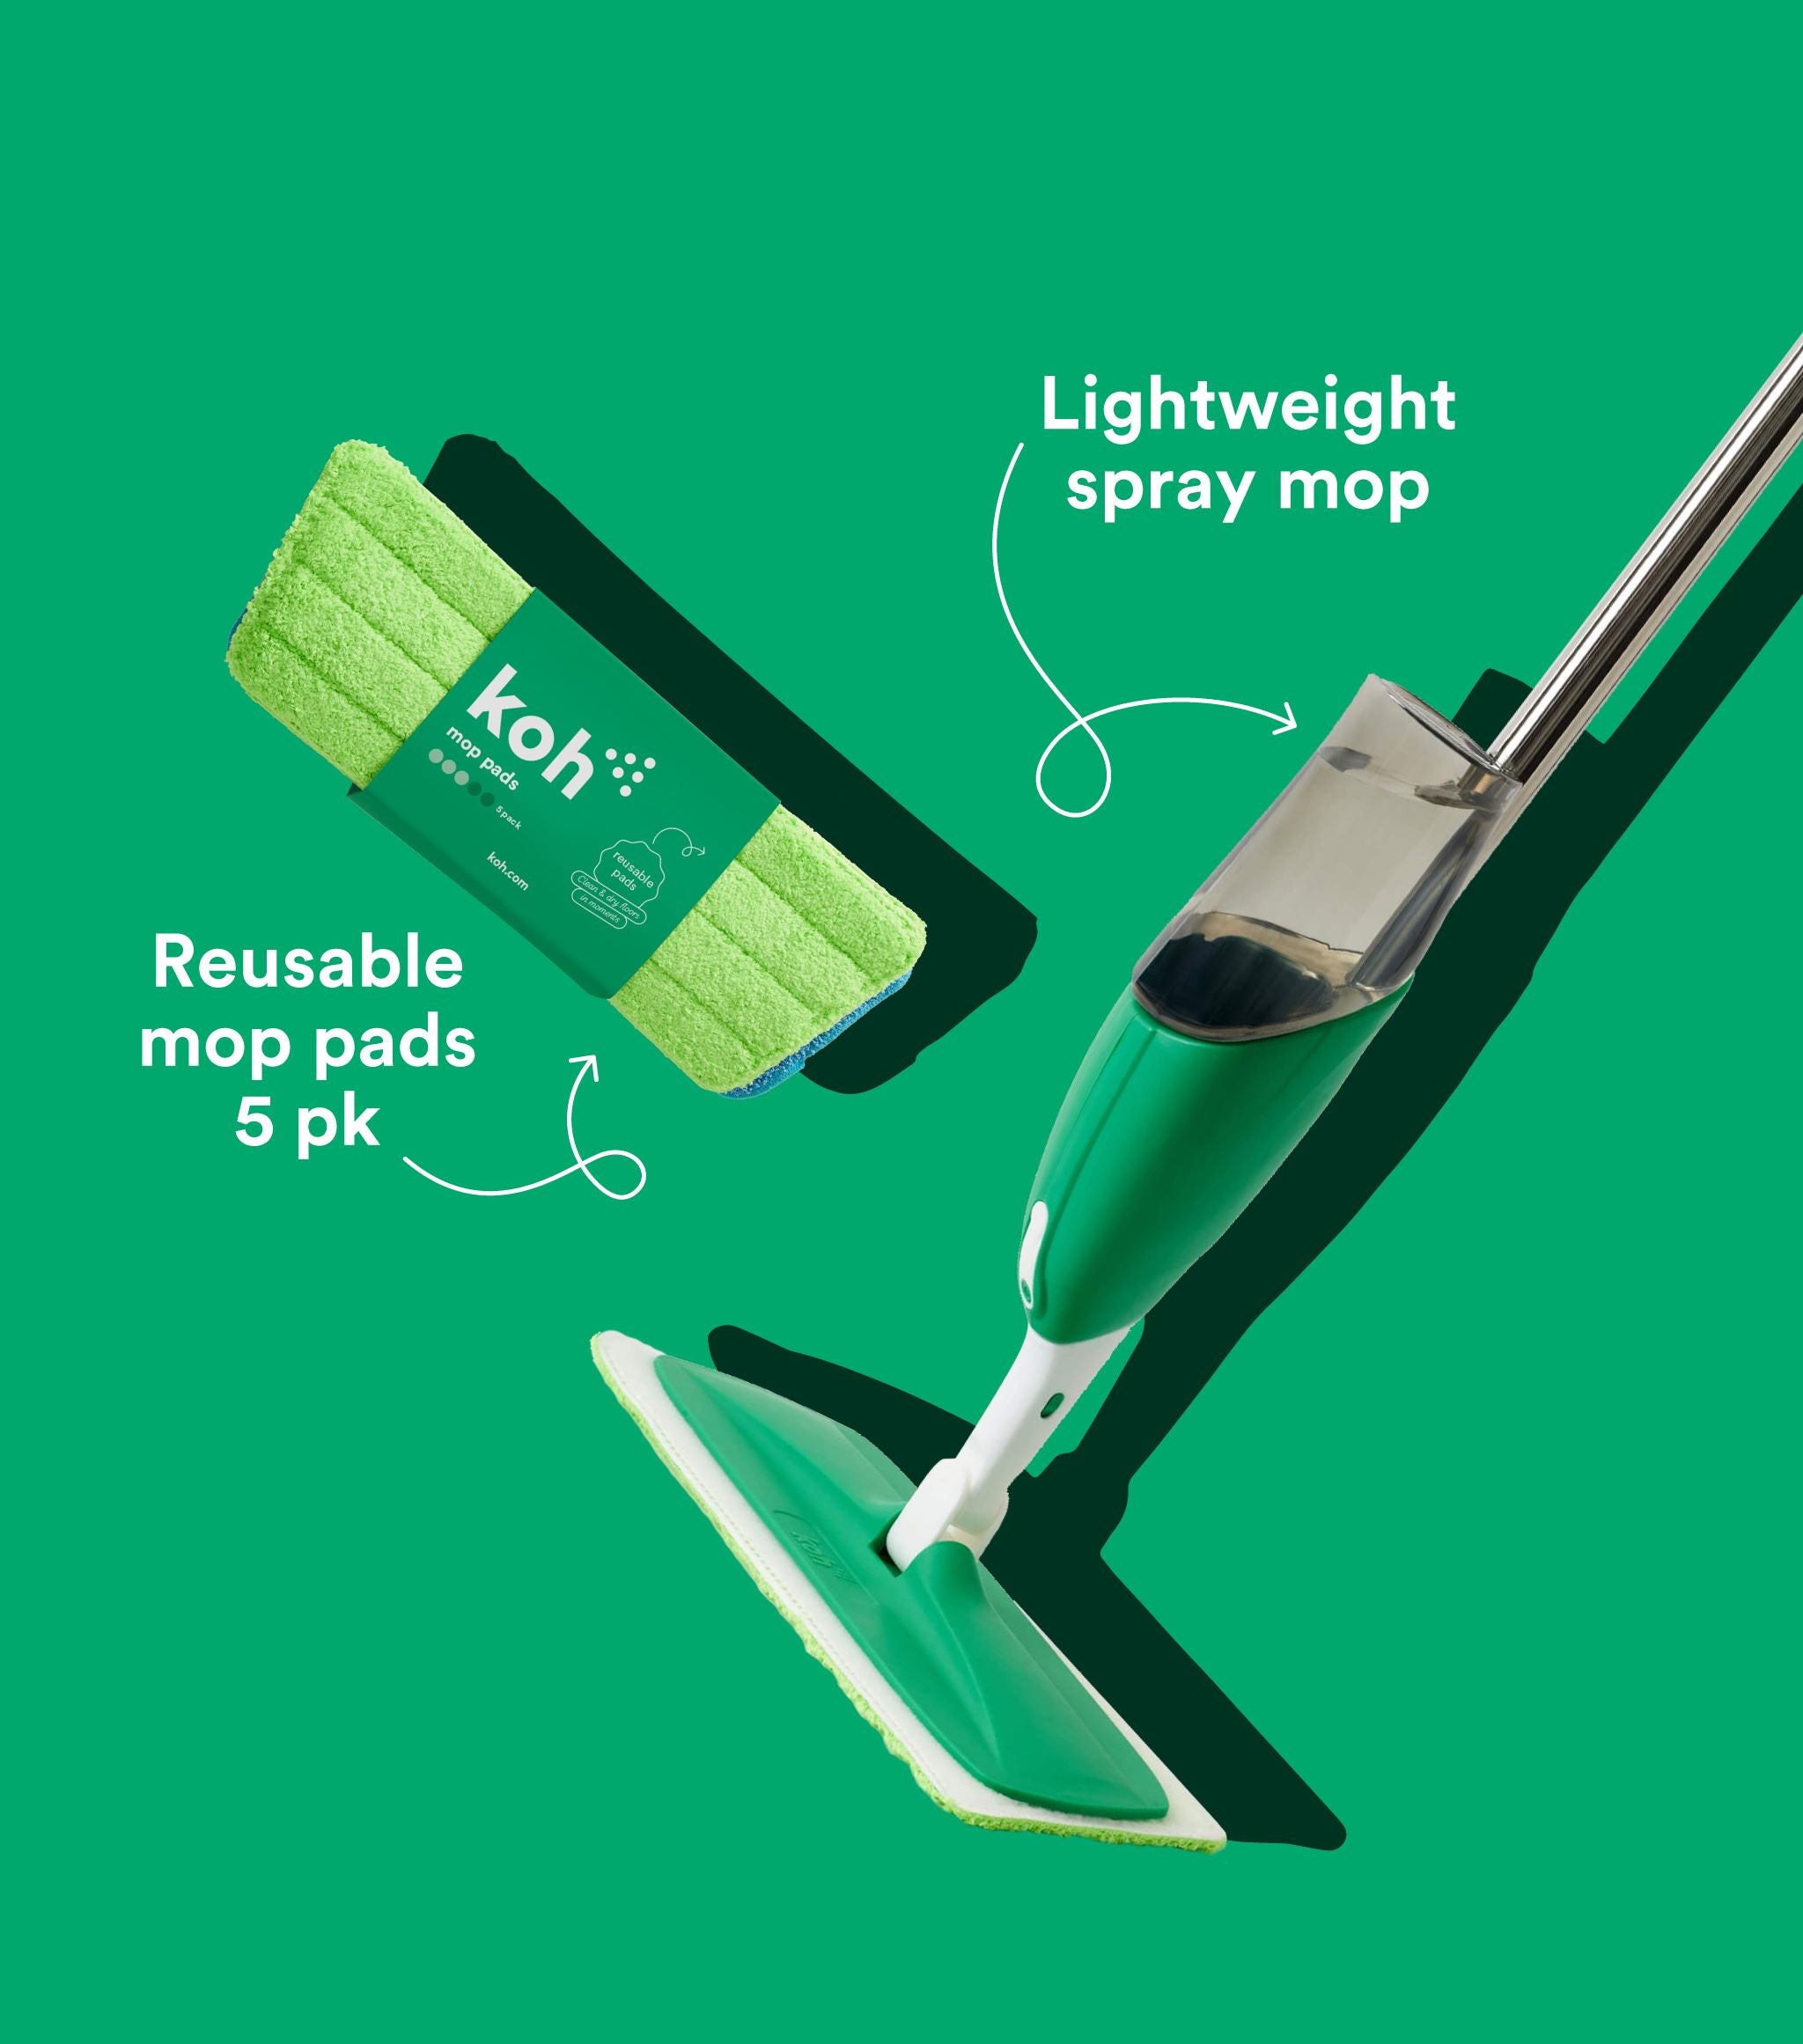
✔ Spray Mop – for larger floor areas
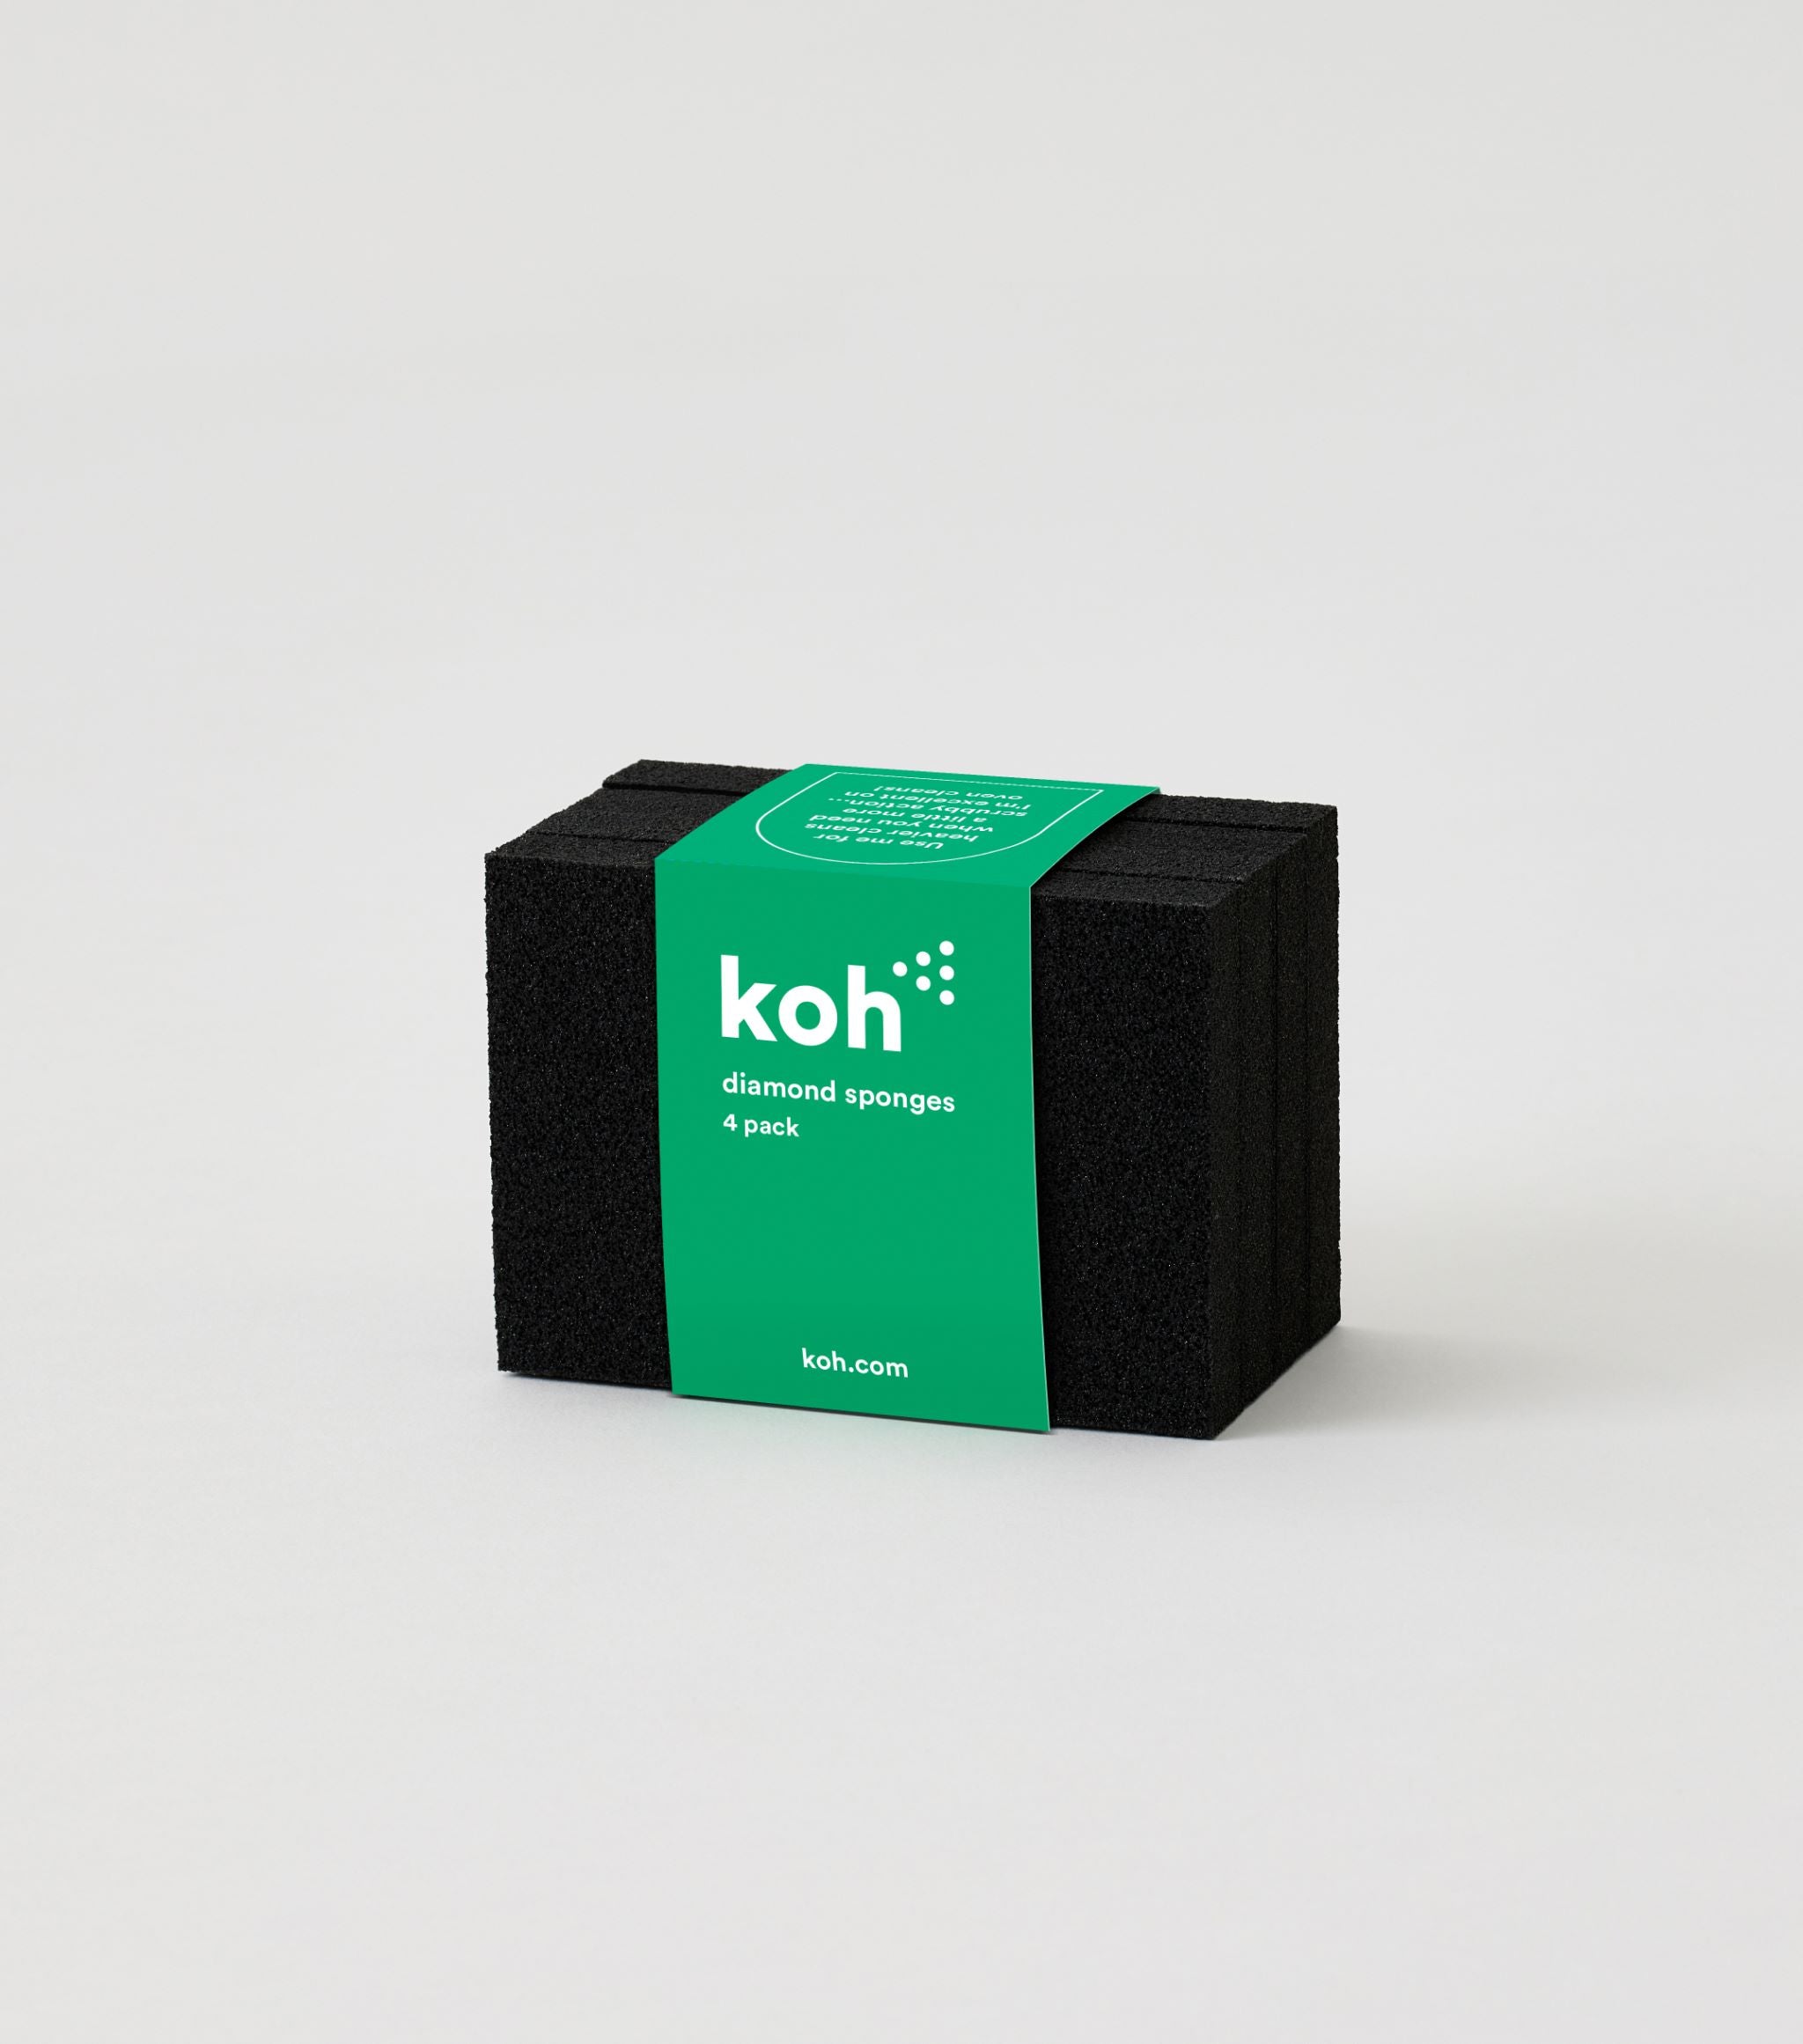
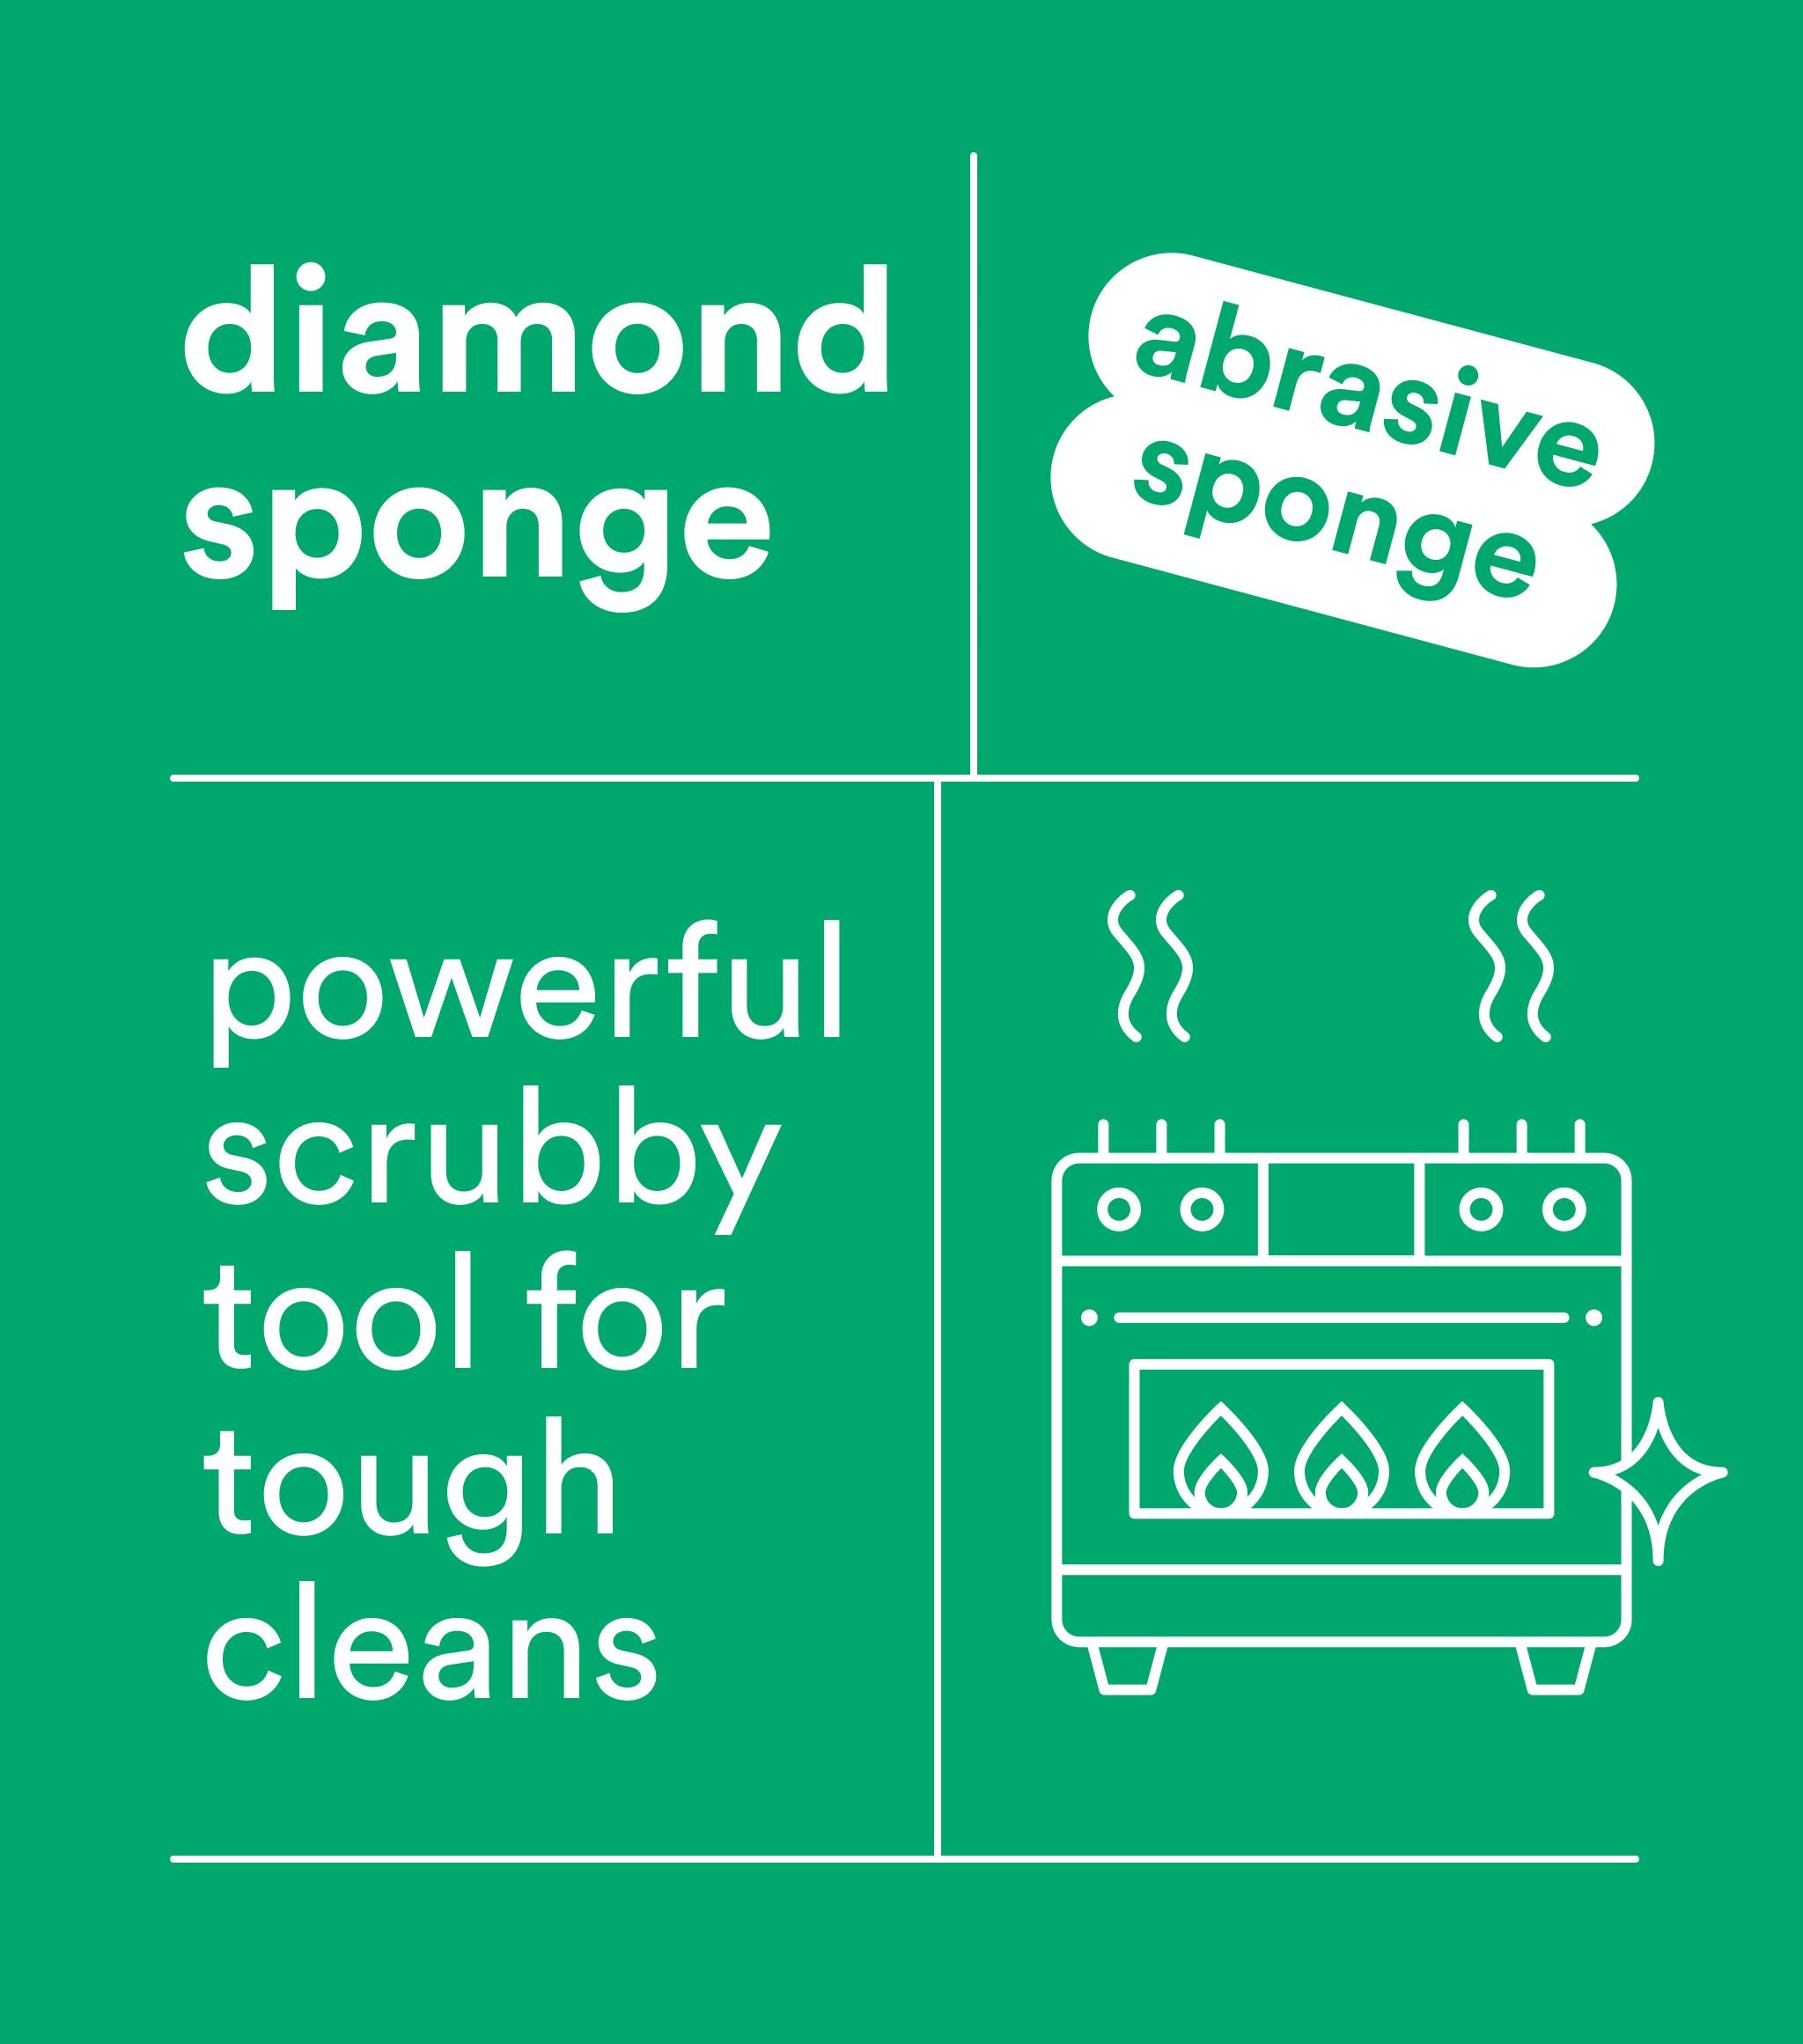
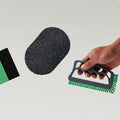
✔ Diamond Sponge – for stubborn debris on tiles only (use with care)
✔ Warm water – for rinsing
Step-by-step guide
Step 1
Sweep or vacuum first to remove loose dust and debris.
Step 2
Spray Universal Cleaner across your floors using the Atomiser or Spray Mop.
Step 3
Wipe or mop in sections, rinsing the cloth or pad regularly to avoid spreading dust.
Step 4
For tough bits like dried plaster or brick dust stuck to tiles, soak the Diamond Sponge in Universal Cleaner first, then gently buff the area.
Step 5
Wipe clean with your Universal Cloth or Spray Mop.
Step 6
Step back and enjoy those clean, renovation-ready floors.
Pro tip
• Always spot test before using the Diamond Sponge — it’s abrasive when dry and should never be used on wood or vinyl.
• Avoid over-wetting floors, especially timber or laminate.
• Mop twice if needed — the first pass lifts dust, the second brings the shine.
Safety note: Use the Diamond Sponge only on tiles or stone surfaces. Soak the Diamond Sponge before use to prevent micro-abrasions. Never mix Universal Cleaner with other products.